MetaServer > Help > Booklet Splitter
140-020 MetaServer Edit – Booklet Splitter
With MetaServer’s Split Booklets action, you can split booklets in individual pages without cutting the original document.
Booklets or saddle stitched books can be easily produced with modern digital copiers. The copier automatically prints pages in the right sequence, folds the paper and staples the book in the middle delivering a nice booklet in the output tray. This booklet format is often used by attorneys or notaries to produce contracts, deeds, statements or notarial acts.
Also surveys, exams, admission forms etc. are often printed in booklet format.
To split the folded booklets in invidiual pages with MetaServer, the booklets simply need to be unstapled and unfolded. After scanning the unfolded booklets with a wide duplex scanner, you end up with A3 (297 × 420 mm) or Ledger sized images (11″x17″), in case the folded booklet is A4 or letter size, containing 4 pages per sheet (2 on the front and 2 on the back) in an awkward sequence.
MetaServer will split the unfolded pages in two and put them in the correct sequence.
To output your edited document:
Step 1: Unstaple and unfold the booklets and scan them in duplex. Any blank pages must be preserved. The scanner would output this sequence of images if the booklet contains 8 pages:

Step 2: Add the Split Booklets action after the Import action(s).
Step 3: In your Export action(s), select “Processed PDF / TIF / JPG” as the File source. More about that later.
Step 4: MetaServer outputs all pages in the correct sequence.

To add the Split Booklets action, select the action after which you want to insert the Split Booklets action and press Add -> Edit -> Split Booklets. The Setup window will automatically open.

You can also open the setup window of an existing Split Booklets action by double clicking it or pressing the “…” button on the right side of the action, as shown below.

In our example, we will use the “CB – BOOKLET SPLITTER” workflow as a reference. This workflow is automatically installed with CaptureBites MetaServer.

01 – Page selection: specify if you want to split all pages, a range of pages or only the first booklet.
Some page range examples:
1-8 = splits the 1st page to the 8th page
-4–1 = splits the last four pages
If any of the specified pages does not exist, that page is automatically ignored.
02 – Size: here you specify the maximum and minimum width and height of your booklets. Only pages complying to the set minimum and maximum page dimensions will be split, other pages will be ignored. This allows to only split A3 size pages for example and leave A4 pages untouched.
03 – Cover Sheet: here you can choose to delete the cover sheet of each booklet. To do this, you need to specify if the cover sheet is the 1st, 2nd, penultimate (the page before the last page) or the last page of the booklet.
04 – Handle pages inserted in the middle of the booklet: any loose pages inserted in the middle of the booklet will be inserted in the correct position after splitting.

All inserts must be scanned after the booklet.
In this mode, you can have multiple booklets in a document.
05 – Also handle pages inserted before the middle of the booklet: any loose pages inserted between pages in the first half of the booklet will be inserted in the correct position after splitting.

Pages inserted in the 2nd half of the booklet are NOT supported and will result in an incorrect sequence after splitting.
In this mode, a document can only contain 1 booklet.
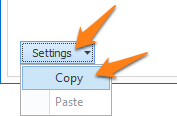
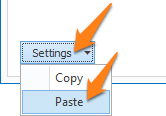
TIP: you can copy the current settings and paste it in another setup window of the same type. Do this by pressing the Settings button in the bottom left of the Setup window and by selecting Copy. Then open another setup window of the same type and select Paste.
In the example result below, we used a demo document with A3 booklets found in C:\META-DEMO\MFP\BOOKLET-SPLITTER. These demo documents are automatically installed with CaptureBites MetaServer.

Before applying the Booklet Splitter

After applying the Booklet Splitter
To export the edited documents, expand the File Source(s) list in your export action(s) and select “Processed PDF / TIF / JPG”.

File source selection in Export to Folder
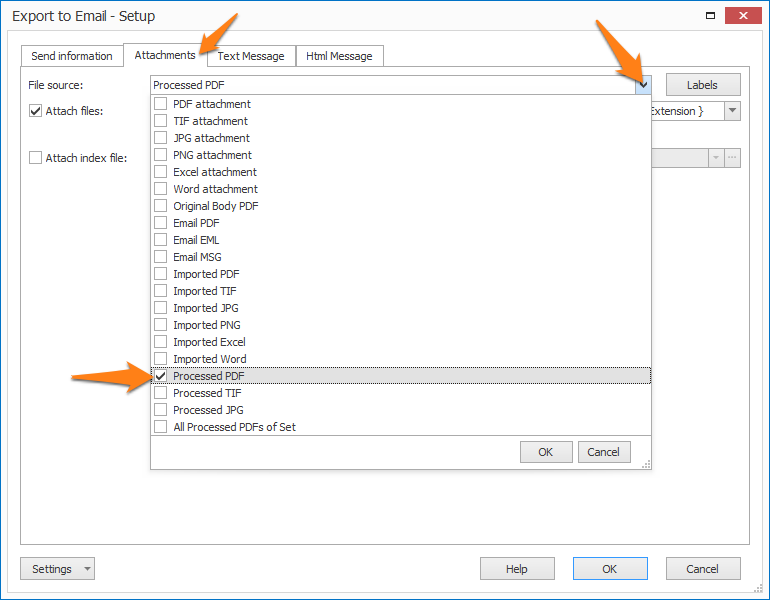
File source selection in Export to Email, if you want to attach the edited document to the email