040-060 MetaTool Edit – Image Editor
Kofax VRS already solves a lot of image quality problems during scanning. Yet, there are still some image clean-up and editing functions that cannot be automated. For manual cleanup, MetaTool’s Image Editor is the fastest and most efficient way to produce perfect images.
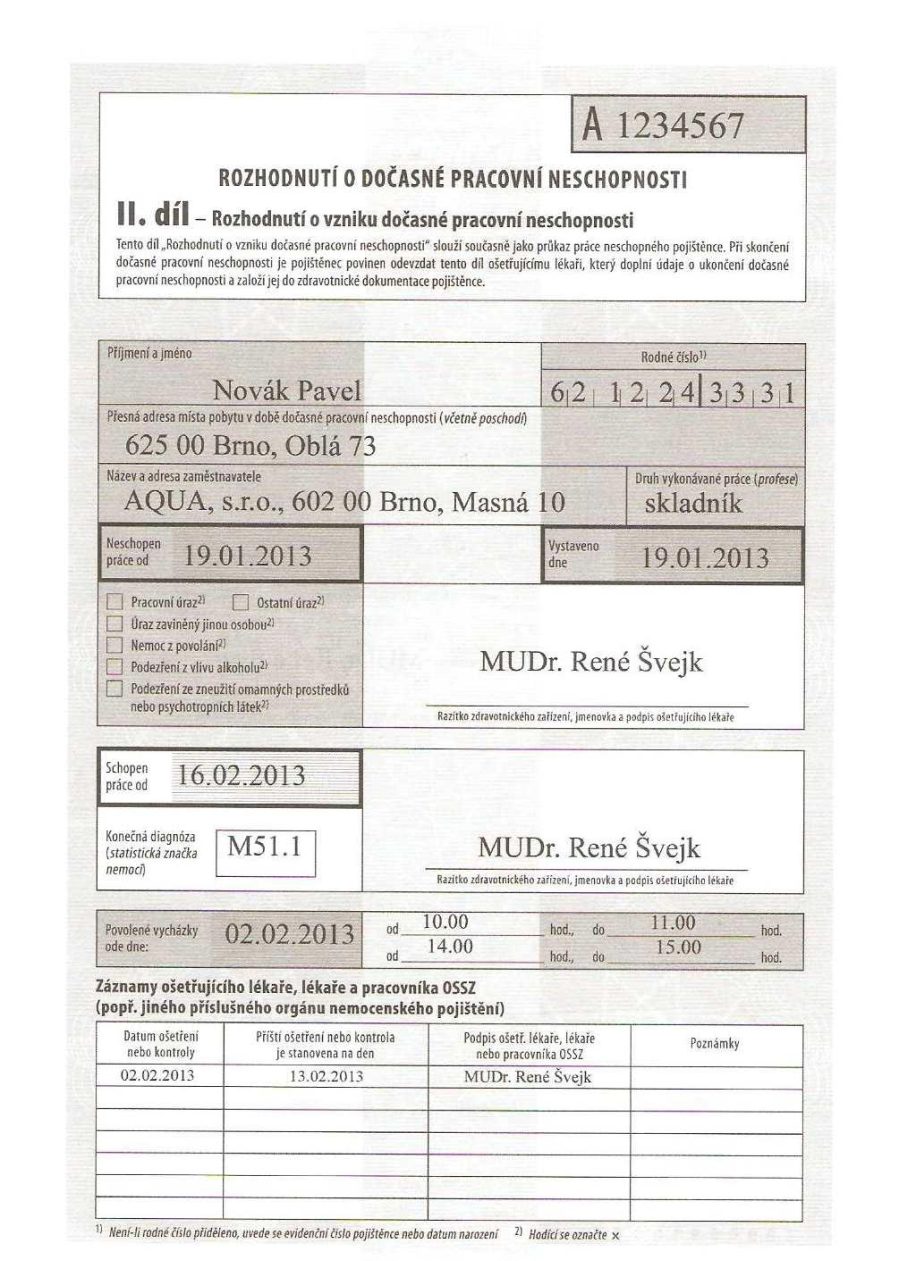
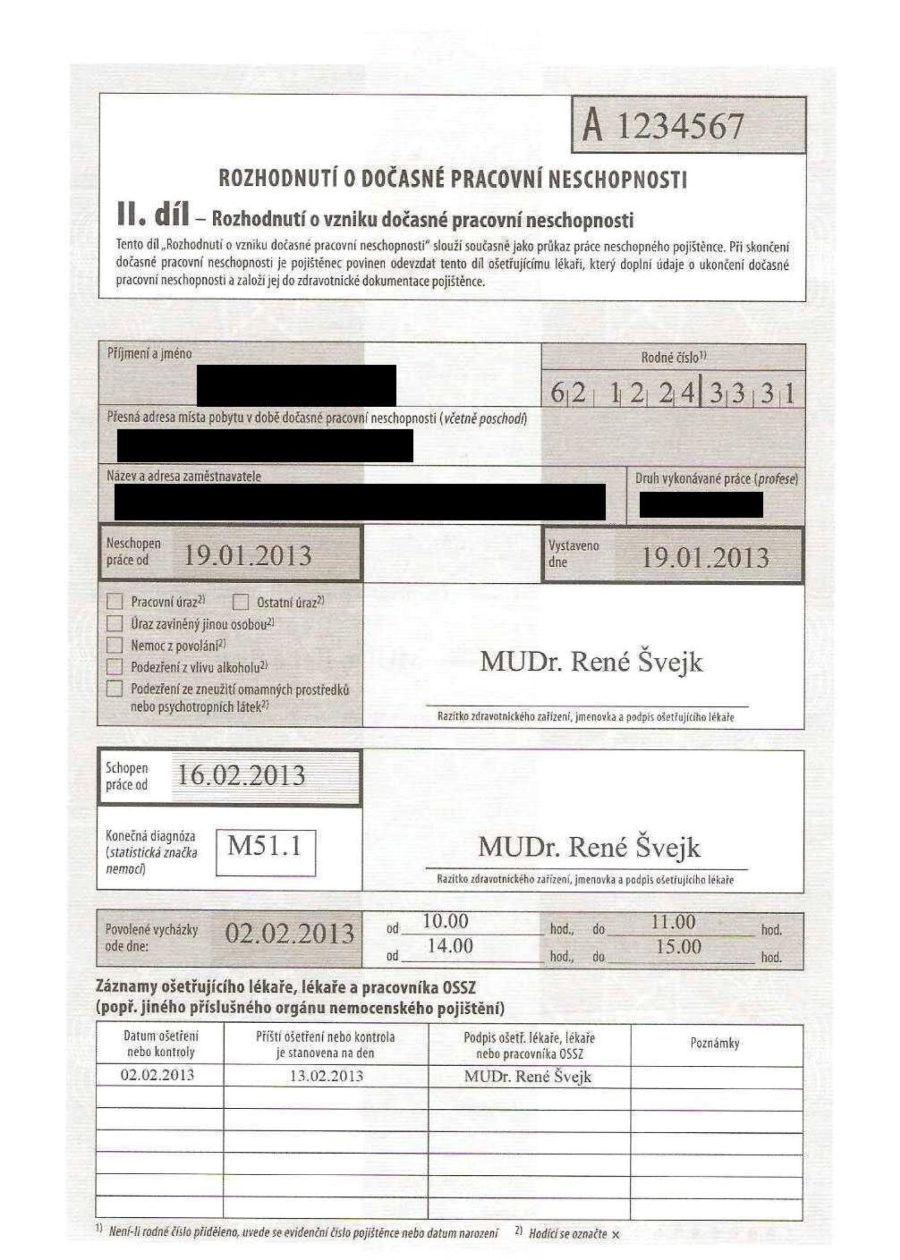
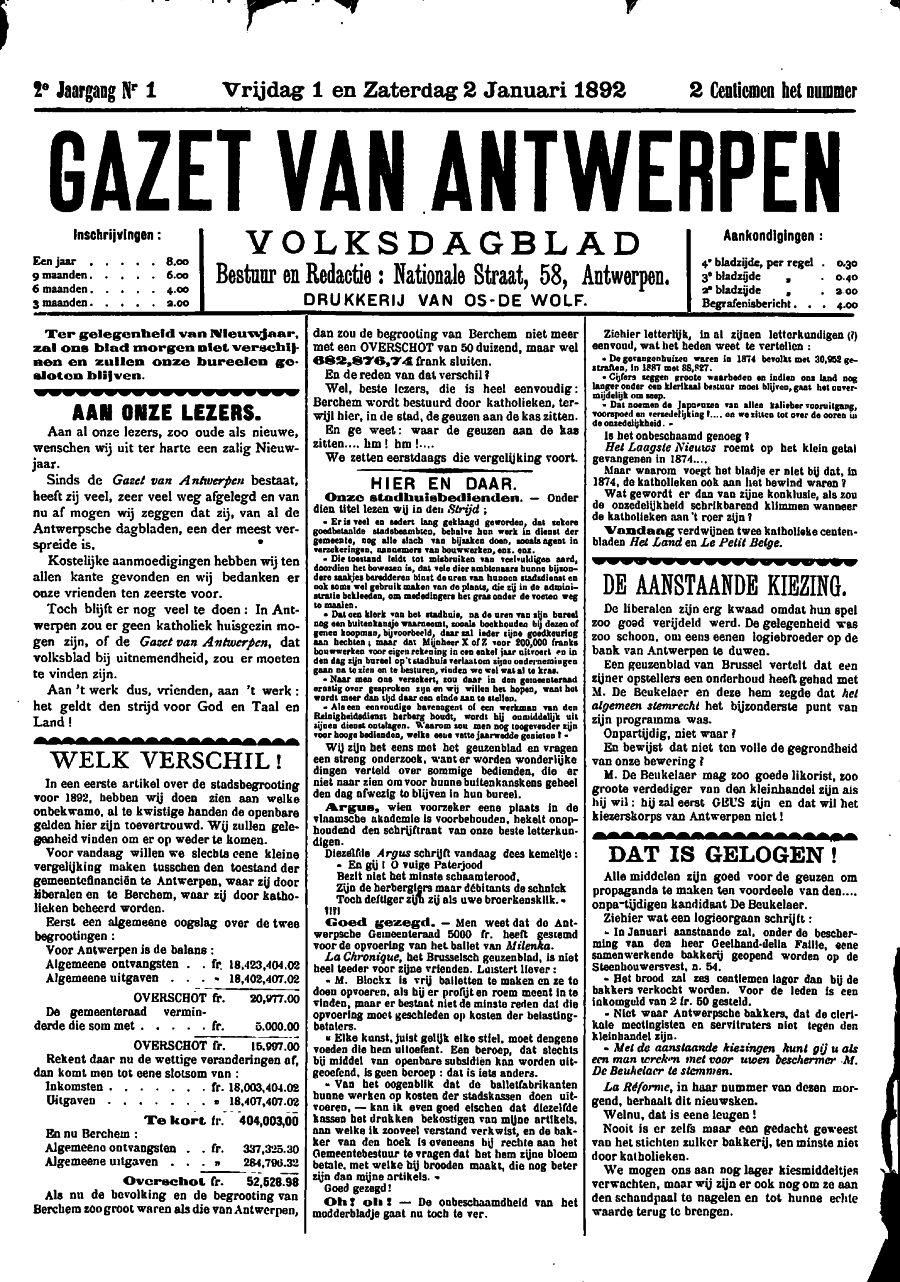
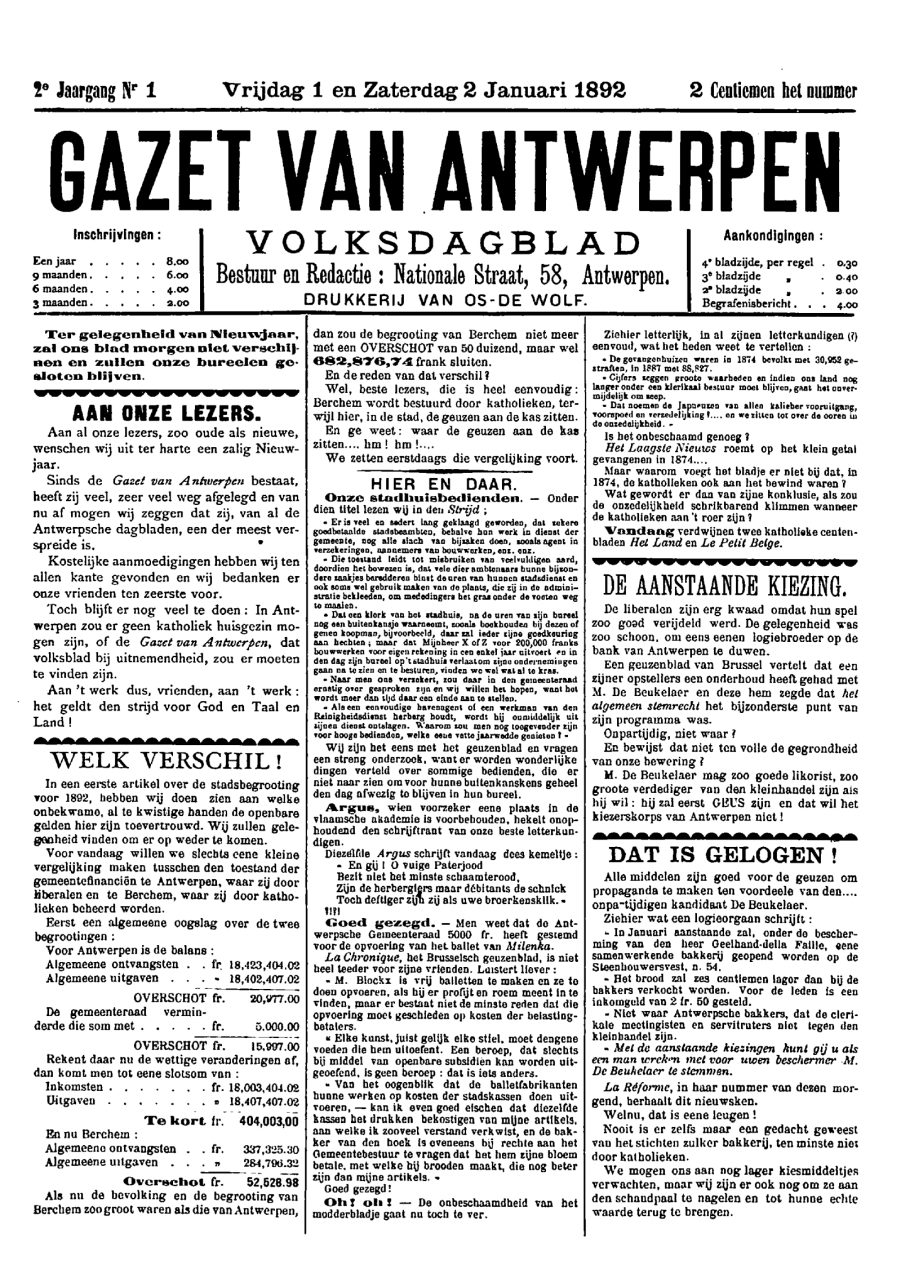
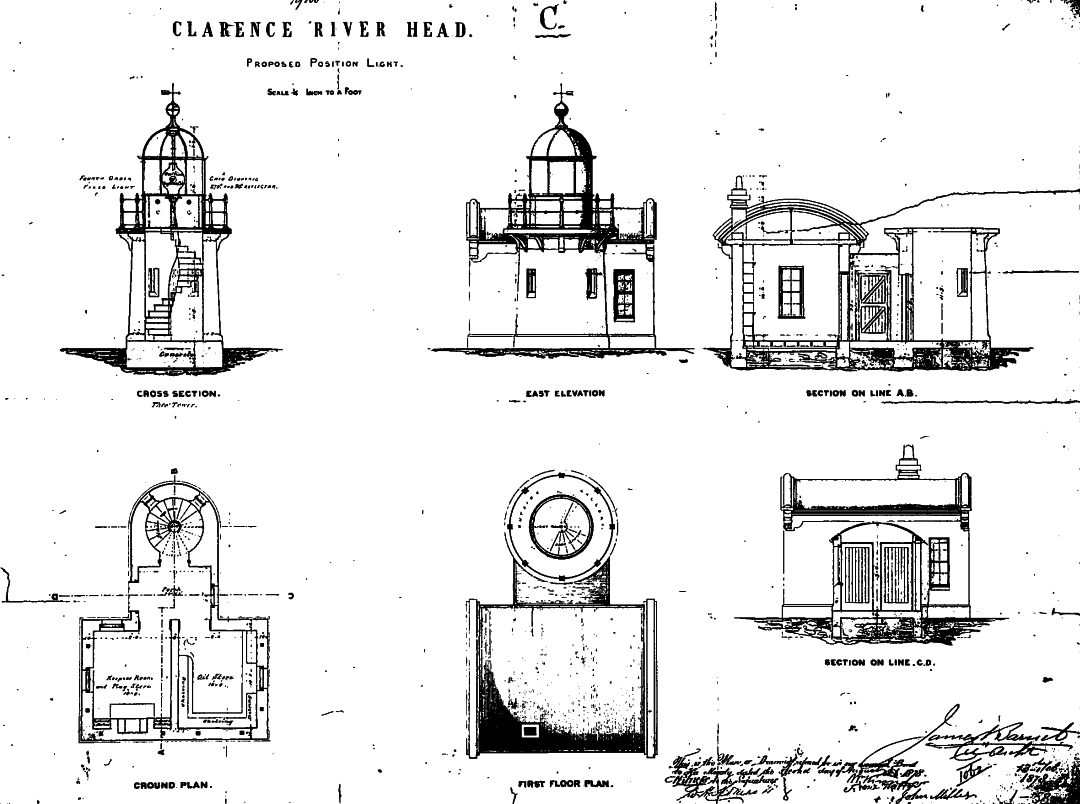
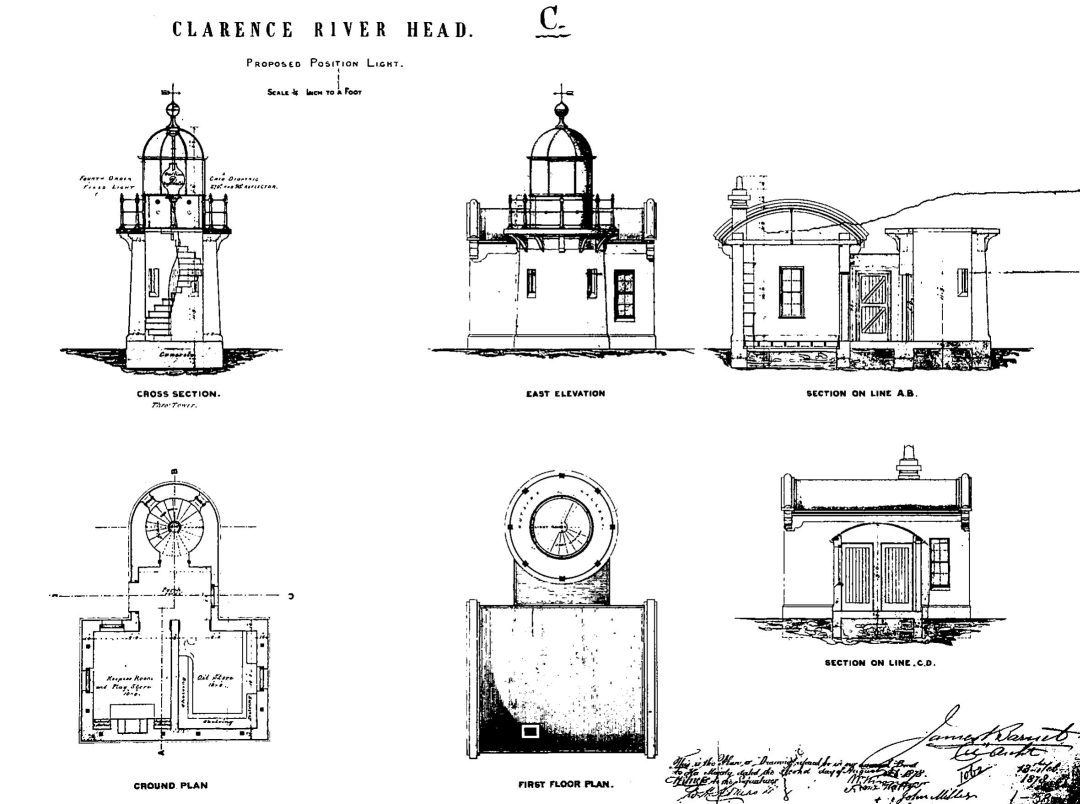
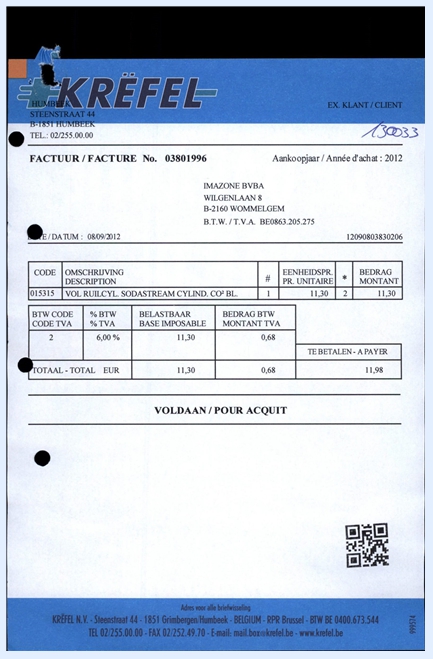
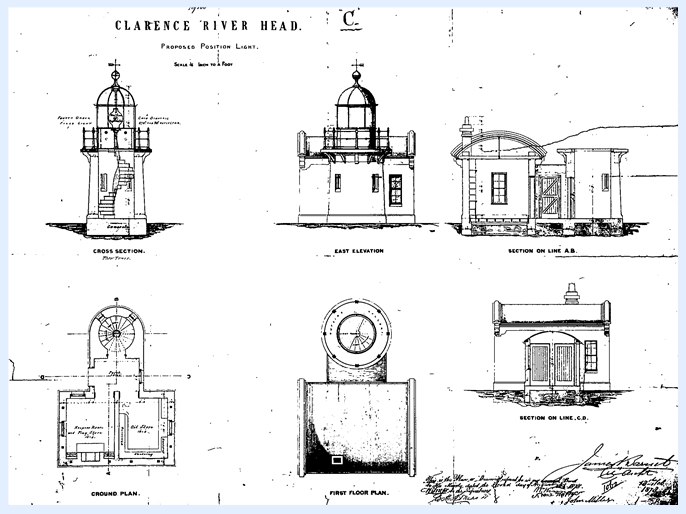
In our example, we have 4 different types of documents that need to be cleaned, cropped or redacted / anonymized. For this, we will make use of the CB MetaTool Image Editor job. This job is automatically installed when you install CaptureBites MetaTool.
01 Image Editor – Add Rule
The image editor is defined in the MetaTool Edit tab. Press the Add button and select Image Editor.

02 Image Editor – Setup
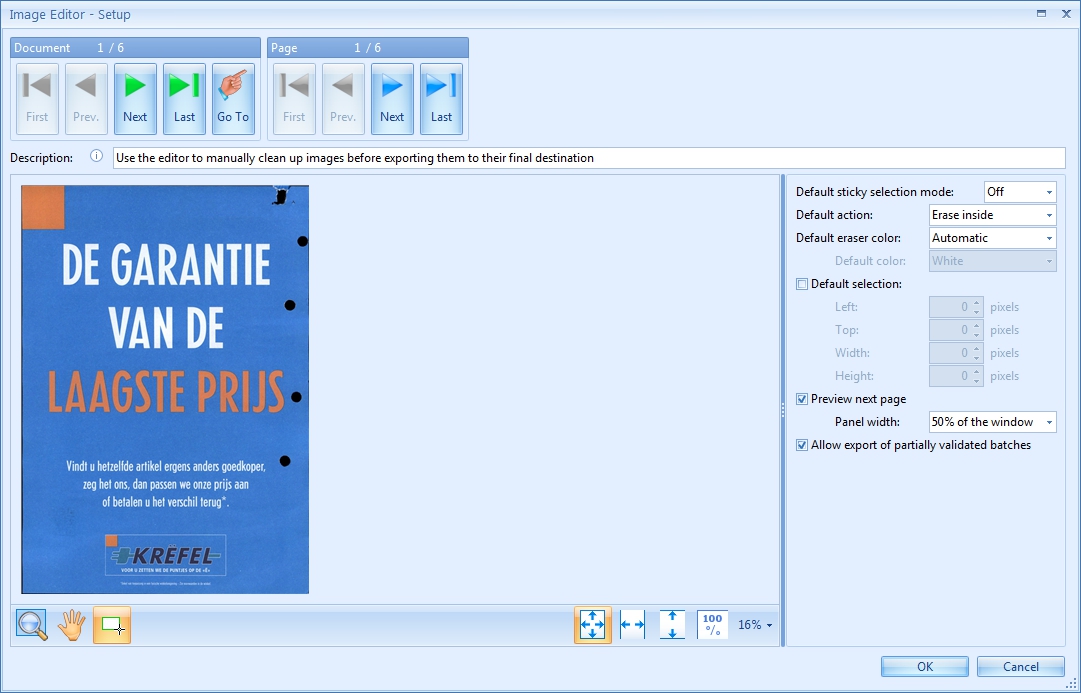


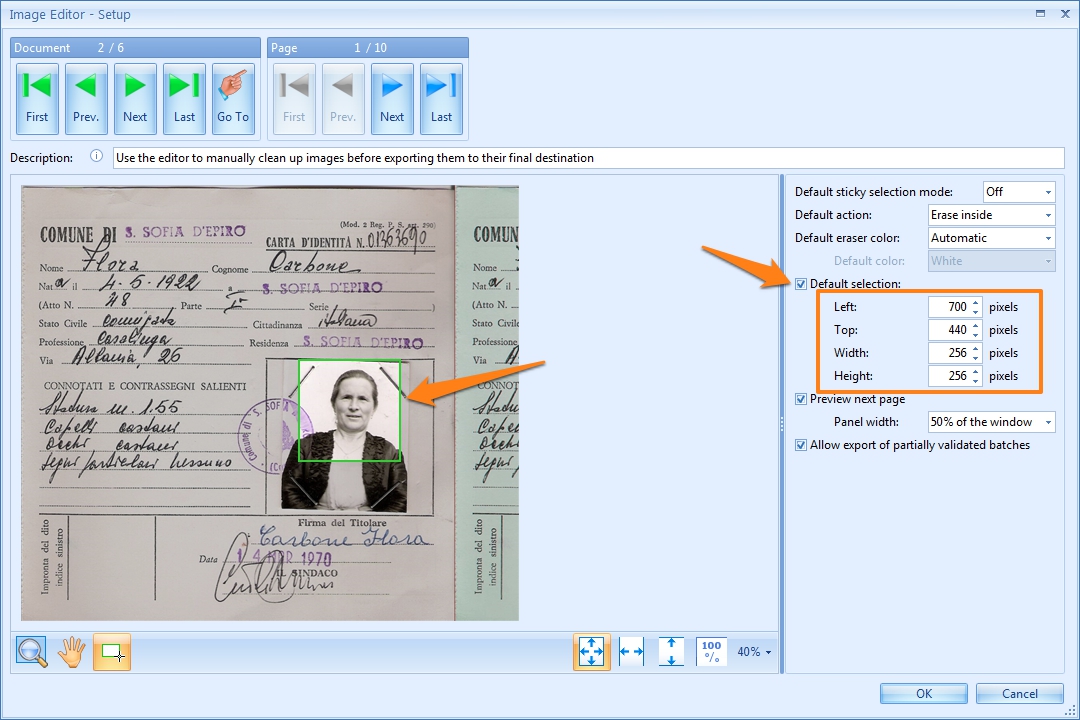
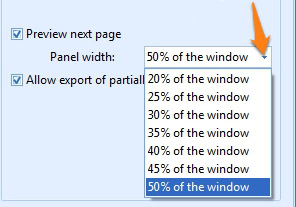
05 – Preview next page: this option will show a preview window with the following page on the right side of the active page. This can be helpful for quickly checking each page without accidentally skipping images requiring editing. The animation below speaks for itself.
If you need to check every page, you get into a repetitive browsing mode and when you see a page requiring editing your browse reflex results in one click too many. This actually skips the page that requires editing so you have to page back to do the editing.
The preview viewer takes advantage of this otherwise annoying reflex. You actually look for problem images in the preview viewer on the right side. When you see a problem image, your repetitive browse reflex will by accident skip it. But this accidental skip actually places it in the left side viewer, ready for editing and no paging back is required.
03 Image Editor during Export
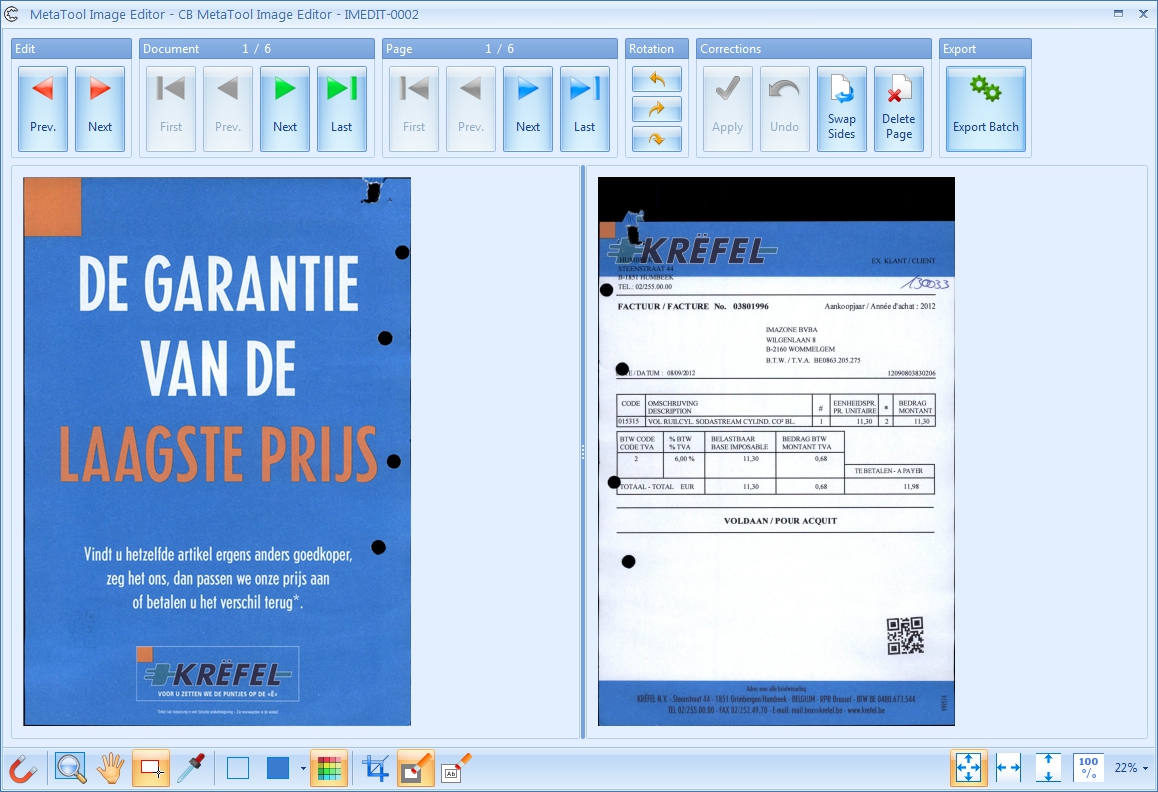
During export, the Image Editor window opens.

![]() 02 – Make the last selection sticky: Enable this option to make your last selection appear on every page automatically. It will also remember your zoomed-in position (see next item).
02 – Make the last selection sticky: Enable this option to make your last selection appear on every page automatically. It will also remember your zoomed-in position (see next item).
Hotkey:

![]() 03 – Zoom on Rectangle: Select the zoom tool to zoom in on a part of the image.
03 – Zoom on Rectangle: Select the zoom tool to zoom in on a part of the image.
Hotkey:
 OR
OR 
![]() 04 – Pan: Select the pan tool to grab the page and move it around. This tool only functions when the page is not completely visible.
04 – Pan: Select the pan tool to grab the page and move it around. This tool only functions when the page is not completely visible.
Hotkey:
 OR
OR 
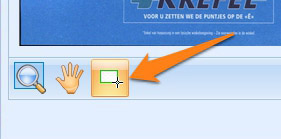
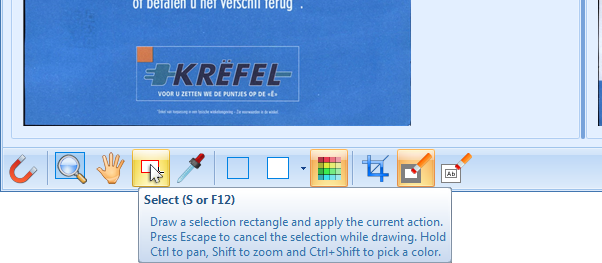
![]() 05 – Select: Select the Select tool to draw a selection rectangle and apply the current action
05 – Select: Select the Select tool to draw a selection rectangle and apply the current action
Hotkey:
 OR
OR 
![]() 06 – Eraser Color Picker: Select the color picker to pick the eraser color from the image. The square next to the color picker, shows the color you are currently hovering over.
06 – Eraser Color Picker: Select the color picker to pick the eraser color from the image. The square next to the color picker, shows the color you are currently hovering over.
Hotkey:

![]() 07 – Manual Erase Mode: shows the current color used by the erase inside or outside selection tools. Change the color with the color picker or press the drop-down arrow to select black or white. The A-key toggles between Manual and Automatic erase mode.
07 – Manual Erase Mode: shows the current color used by the erase inside or outside selection tools. Change the color with the color picker or press the drop-down arrow to select black or white. The A-key toggles between Manual and Automatic erase mode.
Hotkey:

![]() 08 – Automatic Erase Mode: with this tool, the color used by the erase inside or outside selection tools will be automatically detected based on where you start drawing the selection. The A-key toggles between Manual and Automatic erase mode.
08 – Automatic Erase Mode: with this tool, the color used by the erase inside or outside selection tools will be automatically detected based on where you start drawing the selection. The A-key toggles between Manual and Automatic erase mode.
Hotkey:

![]() 09 – Crop: with this tool, you can crop to your current selection.
09 – Crop: with this tool, you can crop to your current selection.
Hotkey:
![]() 10 – Erase Inside: with this tool, you can erase inside your current selection using the selected eraser color.
10 – Erase Inside: with this tool, you can erase inside your current selection using the selected eraser color.
Hotkey:

![]() 11 – Erase Outside: with this tool, you can erase outside your current selection using the selected eraser color.
11 – Erase Outside: with this tool, you can erase outside your current selection using the selected eraser color.
Hotkey:

04 Image Editor – Shortcuts
The MetaTool Image Editor features many shortcuts to help increase productivity.
The animations below show a short overview of all shortcuts and some tips & tricks to make best use of the MetaTool Image Editor.
08 – Triple Undo
- The first undo, undos the last action but leaves the selection. In that way you can change to another action using the same selection
- The second undo, removes the selection
- the third undo, restores the original image and undos all actions
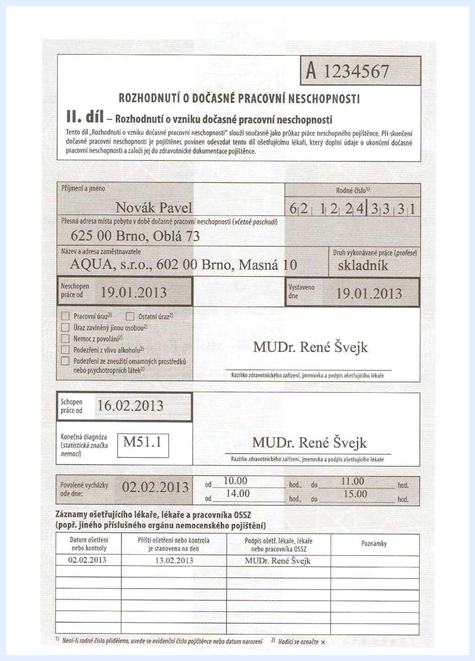
05 Czech Republic – Anonymization
According to the newly approved Act No. 340/2015 Coll. (Law on the Register of Contracts), all published contracts need to be in a machine-readable format and must contain metadata (the descriptive details of the document) in the Czech Republic. All contracts need to have the sensitive personal data anonymized (redacted) before sending them to “The Central Register of Contracts” (“Centrálny Register Zmlúv”).
Czech Translation
Our Czech partner, Infomatic, offers a solution based on Kofax Express in combination with CaptureBites’ MetaTool. The solution makes use of the eraser tools of MetaTool’s Image Editor to anonymize the contracts.
The eraser tools permanently alter the image on pixel level and it is impossible to unhide the sensitive information.
06 Image Editor – Results
The final results after export using MetaTool Image:
