MetaServer > Help > Scale Page(s)
160-080 MetaServer Convert – Scale Page(s)
With MetaServer’s Scale Page(s) action, you can automatically scale your document images and reduce the file size. This results in compact PDFs which you can attach to an e-mail or to get a faster download speed when you retrieve and display these PDFs with your Document Management System.
MetaServer returns the best OCR results with high resolution images of at least 300 DPI. You can find recommended scanner settings in more detail here. But, after having extracted all the required data, it’s not always necessary to keep high-resolution images. For displaying documents on a screen, 150 dpi color images is actually sufficient.
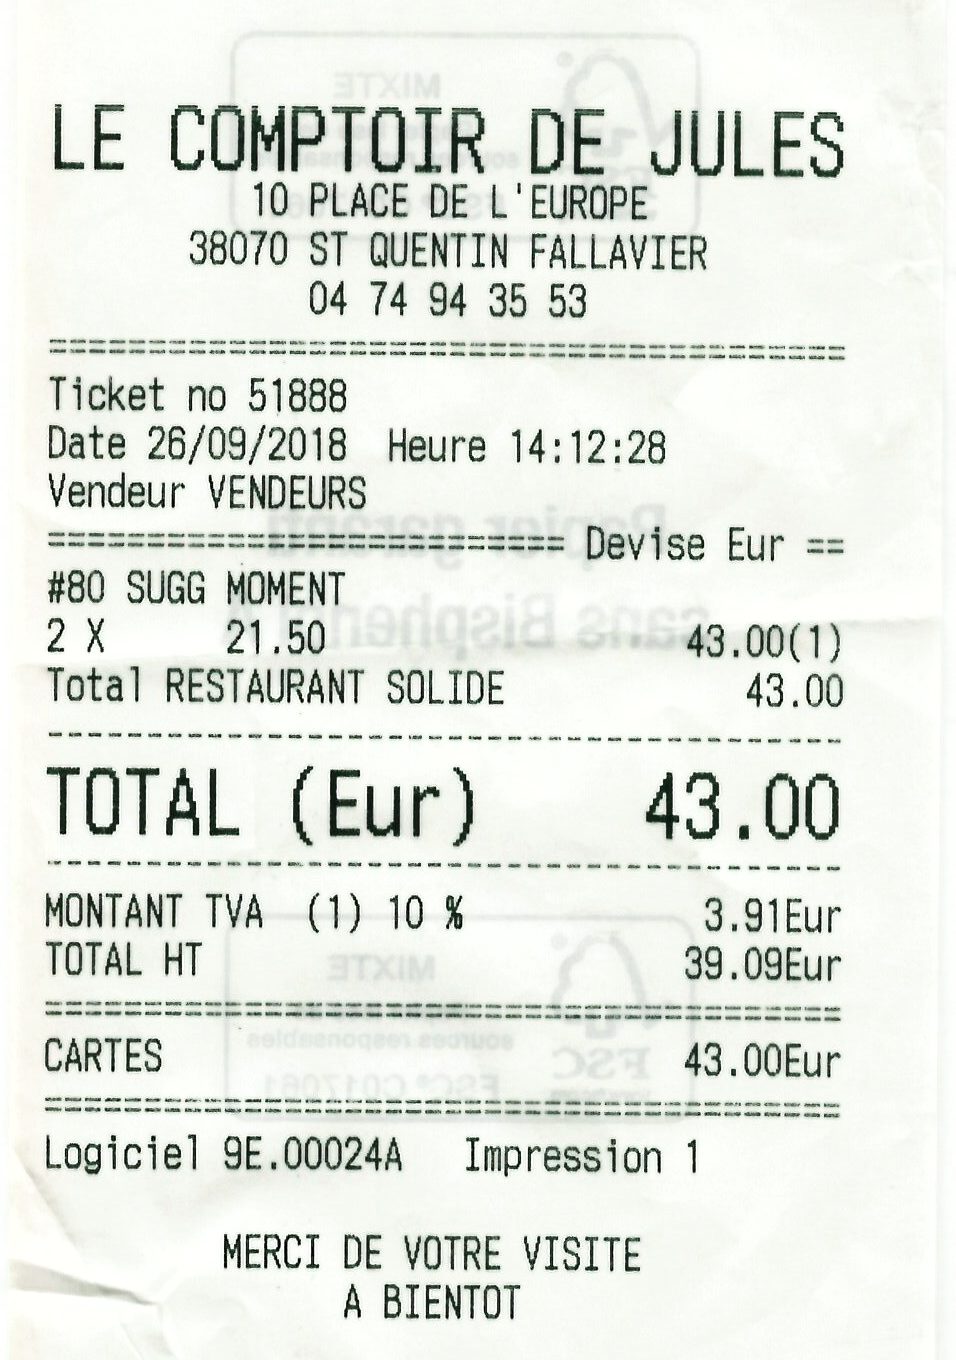
300 DPI (185 KB)
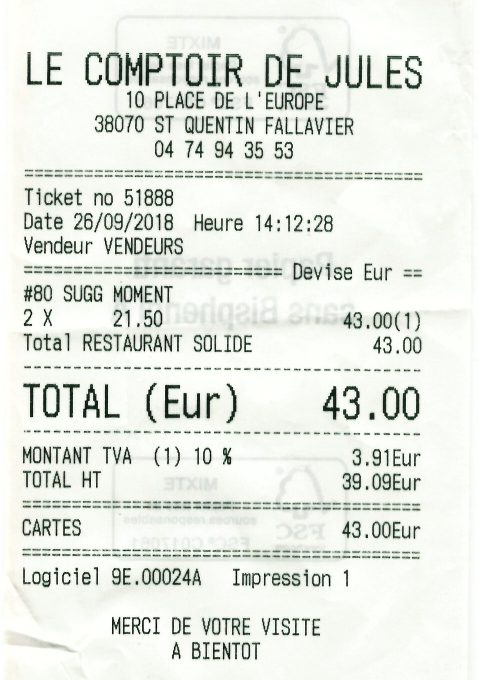
Scaled 150 DPI (65 KB)
To output your scaled document:
Step 1: Add the Scale Page(s) action just before the Export action(s) used to output your processed document. Make sure that any OCR processing (Extract Action or Convert to Searchable PDF Action) occurs before scaling.
Step 2: In your Export action(s), select “Processed PDF / TIF” as the File source. More about that later.
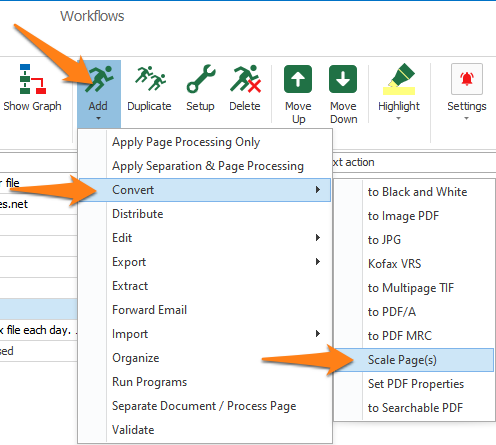
To add the Scale Page(s) action, select the action after which you want to insert the Scale Page(s) action and press Add -> Convert -> Scale Page(s). The Setup window will automatically open.
You can also open the setup window of an existing Scale Page(s) action by double clicking it or pressing the “…” button on the right side of the action, as shown below.

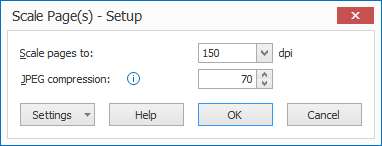
01 – Scale pages to: specify the desired resolution of your image.
NOTE: if you would set a resolution higher than the actual image, MetaServer will ignore the scaling and leave the image in its original resolution and JPEG compression.
02 – JPEG compression: this value indicates the JPEG compression level of your document. You typically set the same JPEG compression as used in your scanner settings, but we don’t recommend a lower value than 70.
TIP: you can copy the current settings and paste it in another setup window of the same type. Do this by pressing the Settings button in the bottom left of the Setup window and by selecting Copy. Then open another setup window of the same type and select Paste.


To export the converted PDF, expand the File Source(s) list in your export action(s) and select “Processed PDF”.

File source selection in Export to Folder
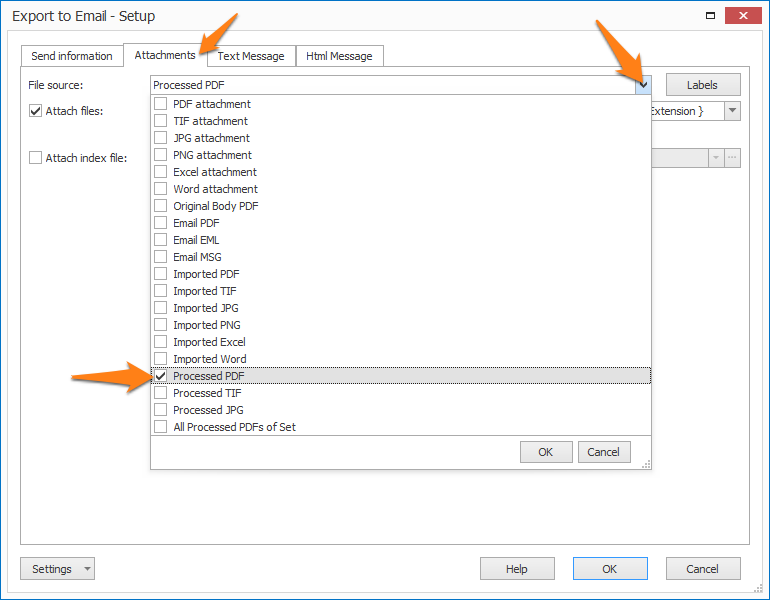
File source selection in Export to Email, if you want to attach the converted document to the email