040-050 MetaTool Edit – Clipping Editor
Sometimes you need to cut a specific part of a scanned page that is not always located in the same place. This could be a photo, signature or an address.
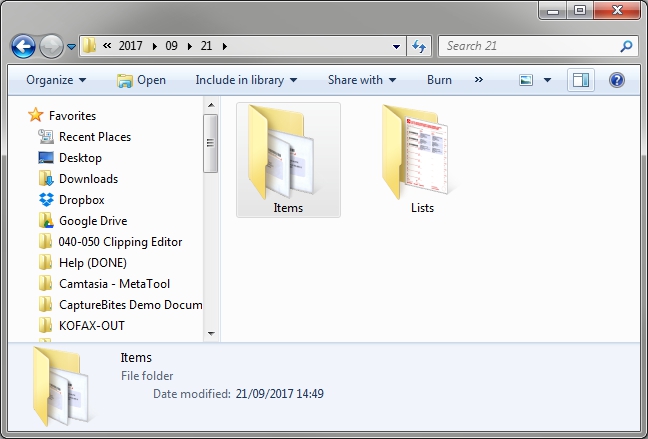
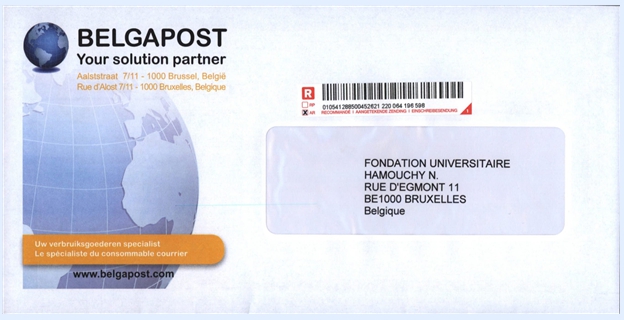
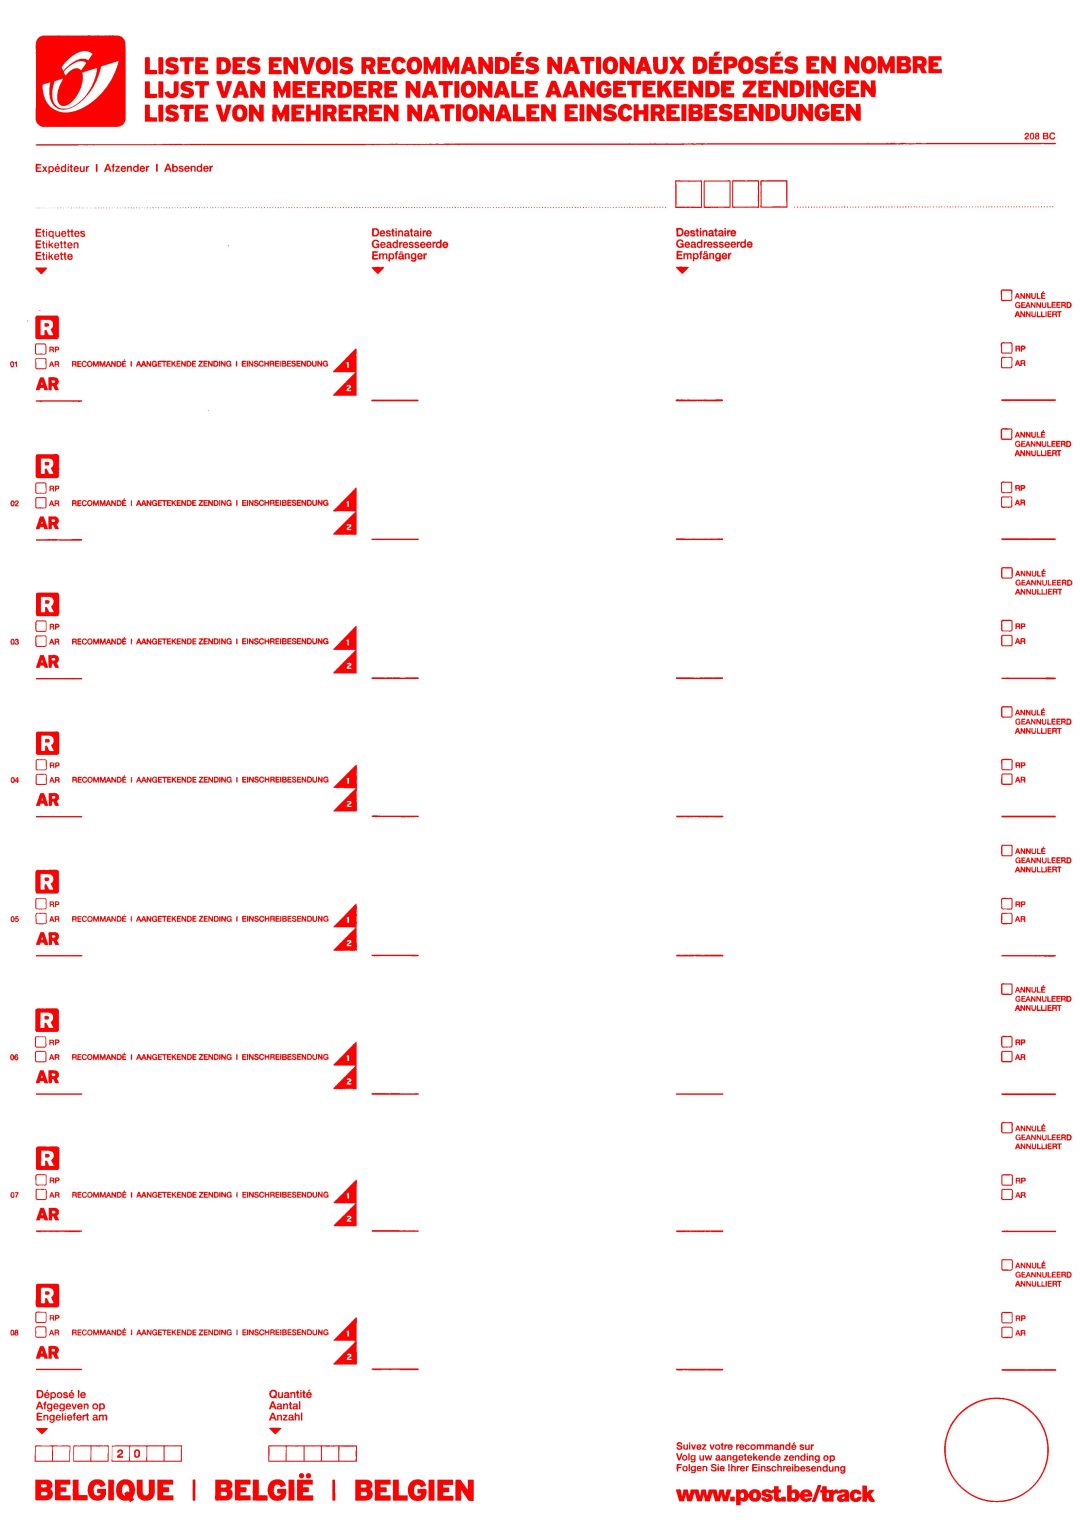
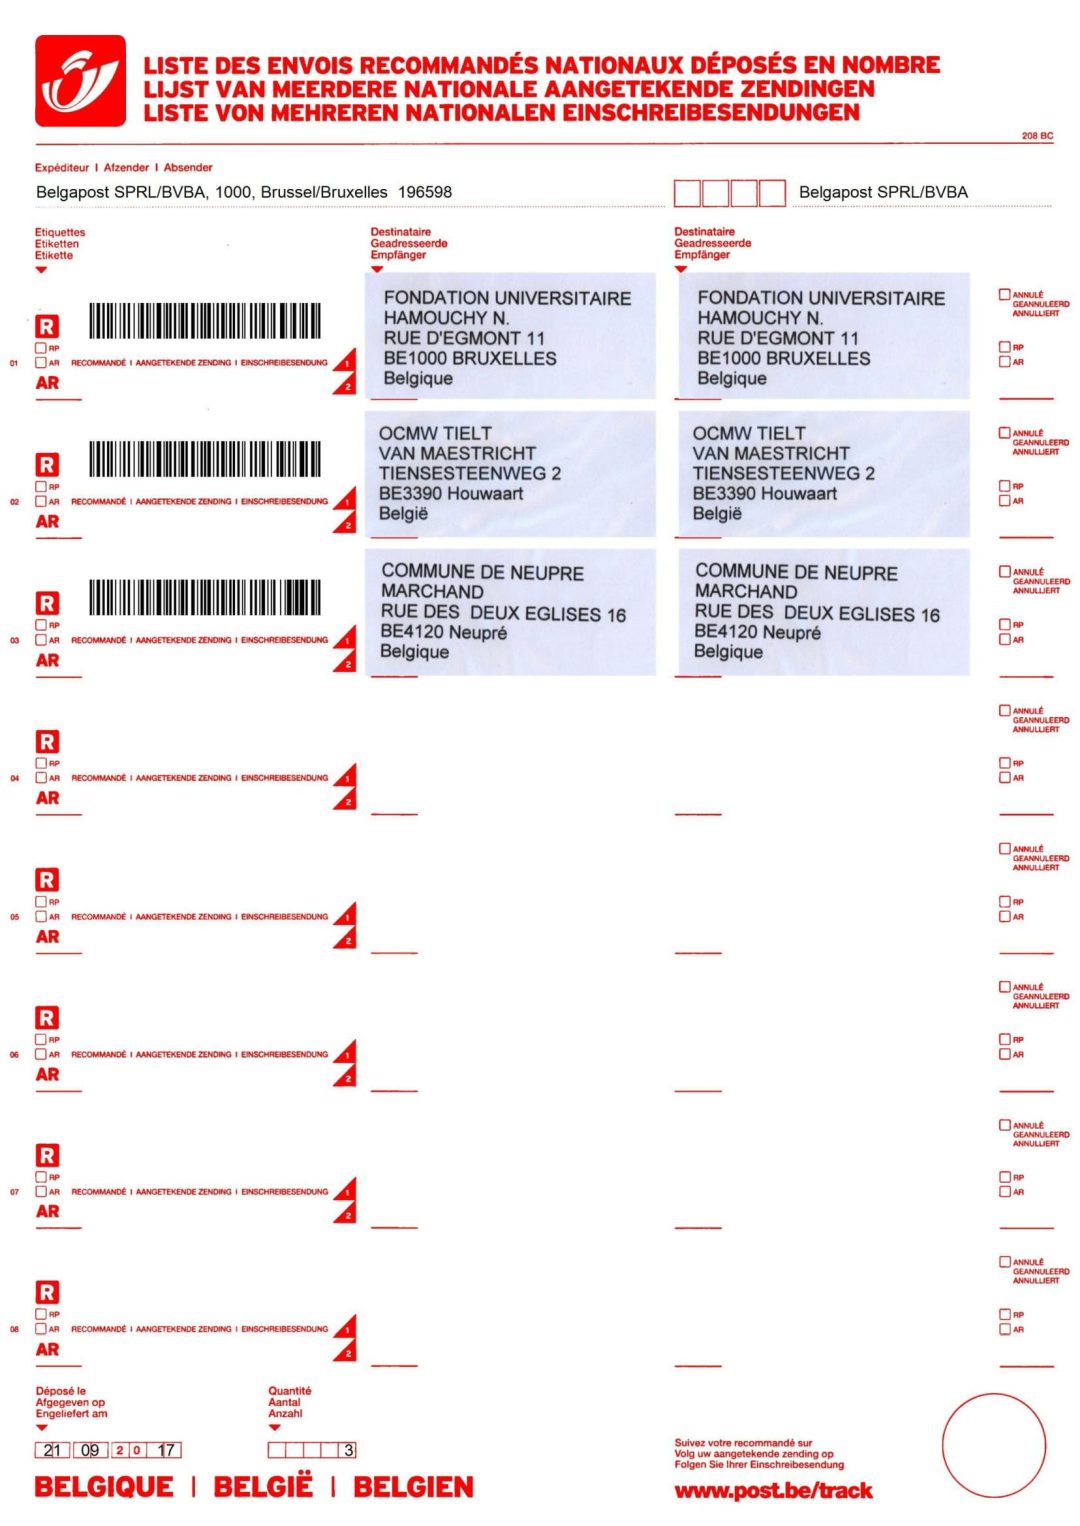
In our example, we will cut the address of the recipient on outgoing mail. This will result in small image clips which we will use to print a registered mail form required by the postal service. The registered mail form and the envelopes will be saved as PDFs in separate folders.
In our example we will make use of a simplified version of the Mail-OUT – Registered Mail job. This job is automatically installed when you install the CaptureBites Registered Mail Solution.
For a more detailed explanation about the Registered Mail Solution (Mail Out), you can watch an introduction video here.
The Clipping Editor is defined in the MetaTool Edit tab. Press the Add button and select Clipping Editor.
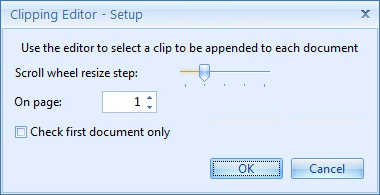
04 – On page: adjust the page number if the information is located on another page than page 1. You can still change the page and zone during export, but this option will automatically show the specified page first. In our example, we have single page documents, so we keep the default, page 1.
05 – Check first document only: here you can select if you want to clip the first document or all documents in the batch. In our case, we want to clip all documents / envelopes. So we leave the box unchecked.
During export, the Clipping Editor window opens
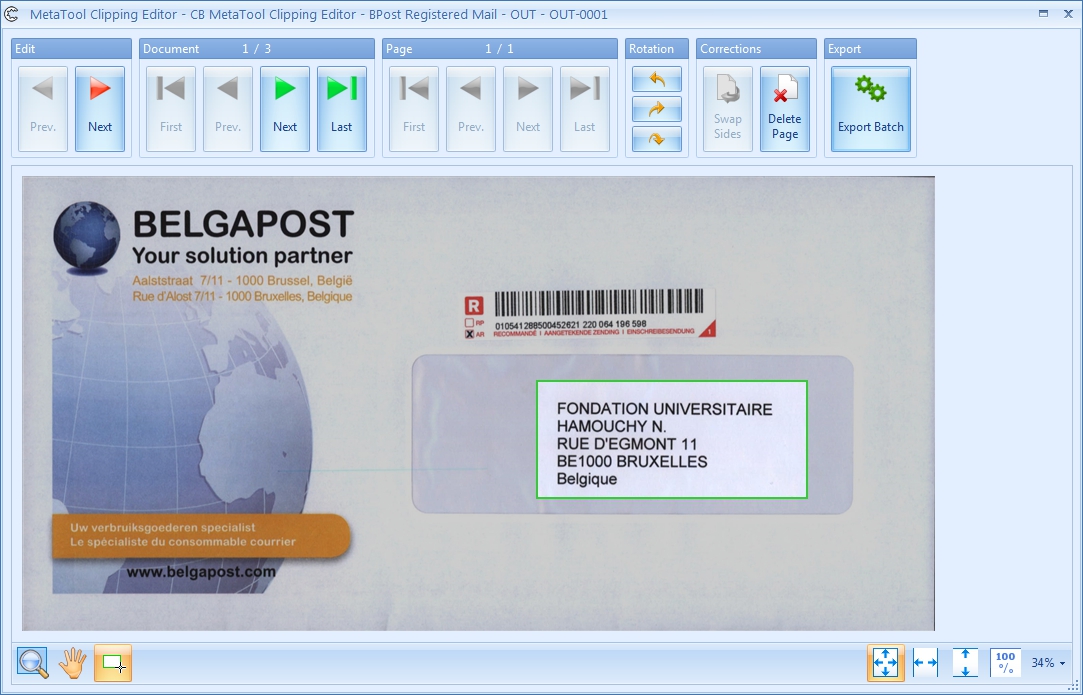
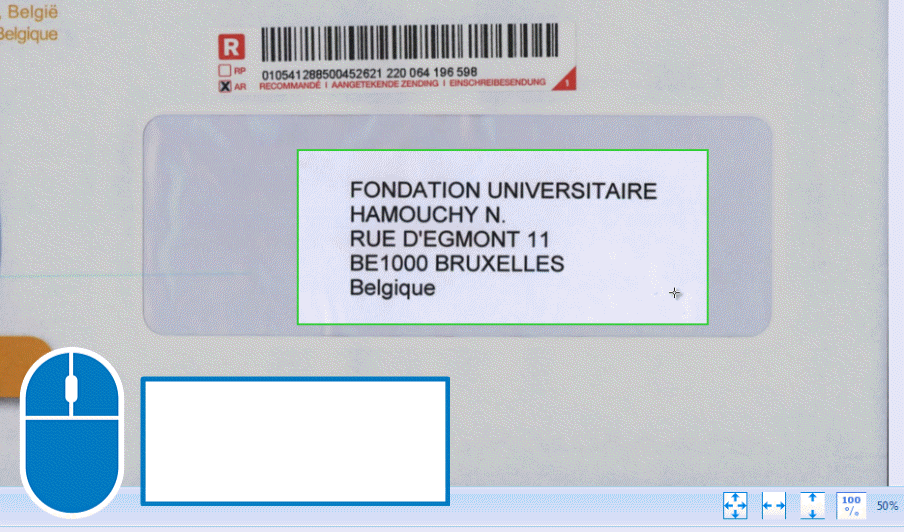
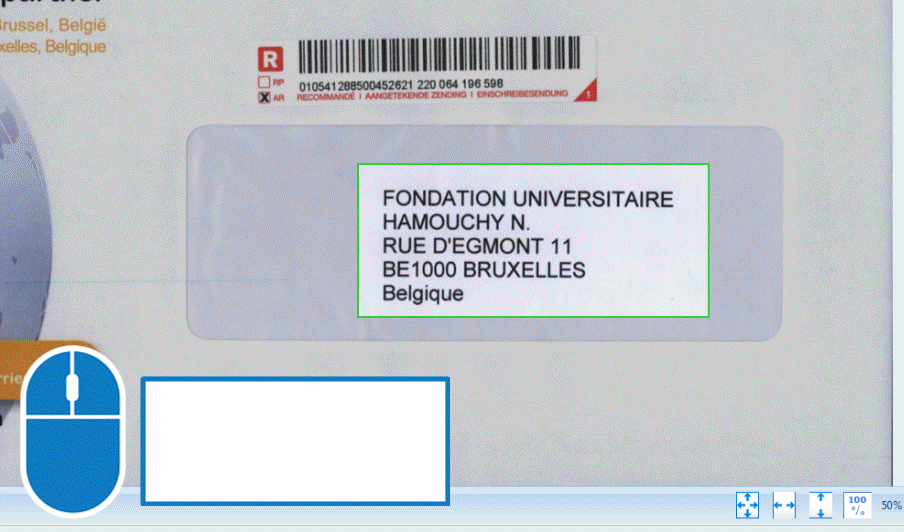
After selecting all addresses in the batch, press export and each clipped address image will be appended after the last page. In this case, the last page is the envelope. Consequently, the envelope will be page 1 and the clipped address will be page 2.
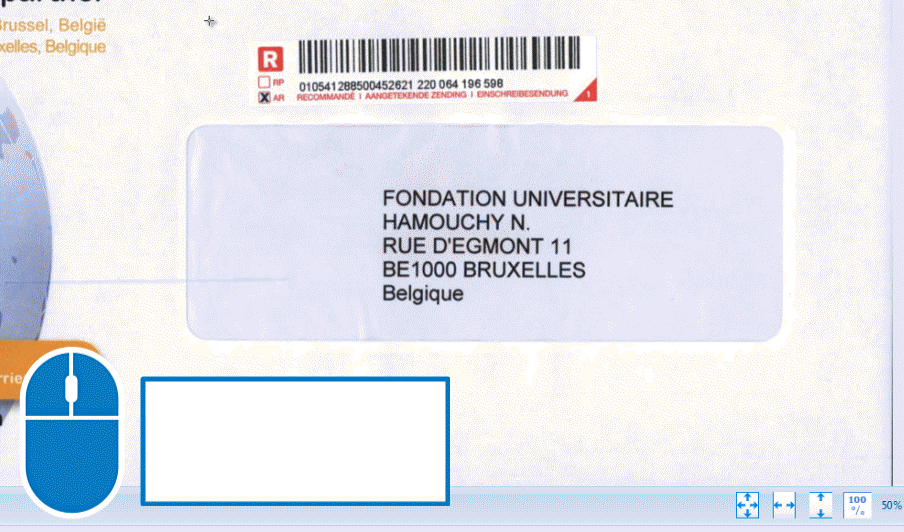
The final result after export using the MetaTool Clipping Editor and the Print export connector: