MetaServer > Help > Separate Document / Process Page > Auto-rotation and delete blank pages
How to set up auto-rotation and delete blank pages
To automatically rotate and delete blank pages in a document, you use the Separate Document / Process Page action.
Next to document separation, the Separate Document / Process Page action also performs the following functions:
Auto-delete pages: You can automatically delete documents using extraction rules. For example, delete a page if no text is found using OCR, i.e. if it’s a blank page or delete a page if it has a specific repetitive text on the backside of some documents like “General Terms and Conditions”.
Auto-rotate pages: you can automatically correct the orientation of your pages based on the text orientation on each page or based on the orientation of a barcode.
In our example, we will make use of the “CB – DELETE AND ROTATE” workflow. This workflow is automatically installed with CaptureBites MetaServer.
01 Auto-Rotate – Case Study
The sample document included in the “CB – DELETE AND ROTATE” workflow, holds a total of 41 pages. 18 of these pages are incorrectly rotated and 11 pages are blank and need to be deleted. You can find some samples of these pages below:
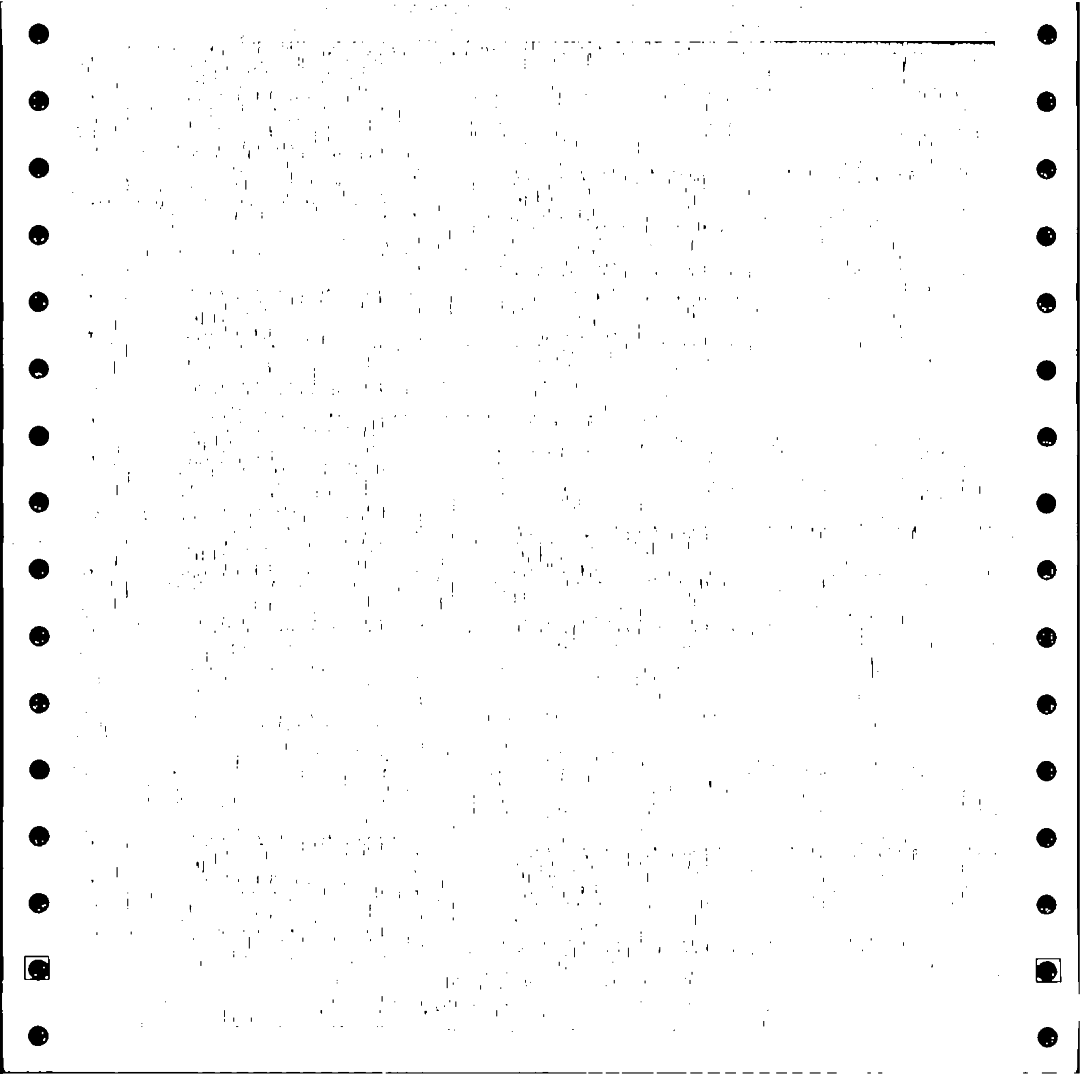
This page contains a scribbled cross, smudges and punch holes, but no legible text. This page needs to be deleted
Using the MetaServer OCR engine, we can auto-rotate and delete redundant pages with only a few rules.
NOTE: To accelerate the process, we will first read a small zone on each page (fast), only if the zone doesn’t contain text, we will read the full page. Consequently we will only perform full page OCR on blank pages and only spent minimum time on pages with text which is typically the majority of the pages. This approach will increase the processing speed per page. More about this later.
02 Auto-Rotate / Auto-Delete – Add a Separate Document / Process Page Action
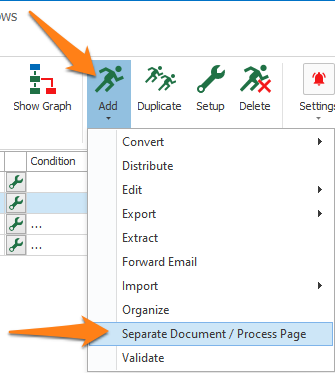
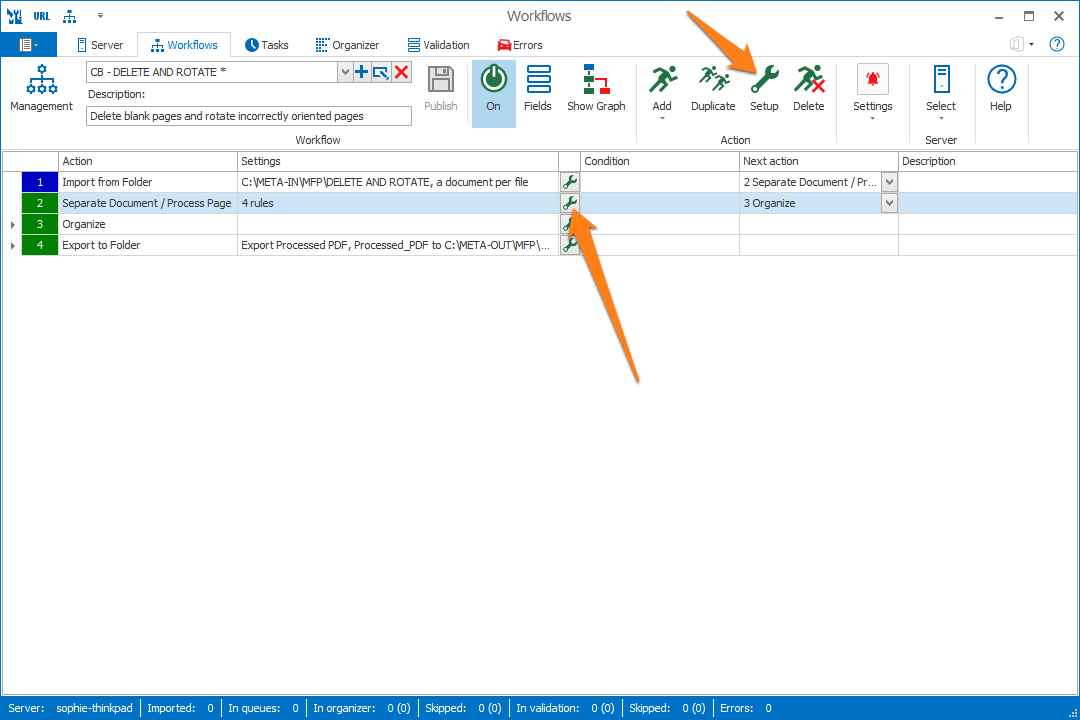
You can also open an existing Separate Document action by double clicking the action or by pressing the setup button on the right side of the action or in the ribbon, as shown below.
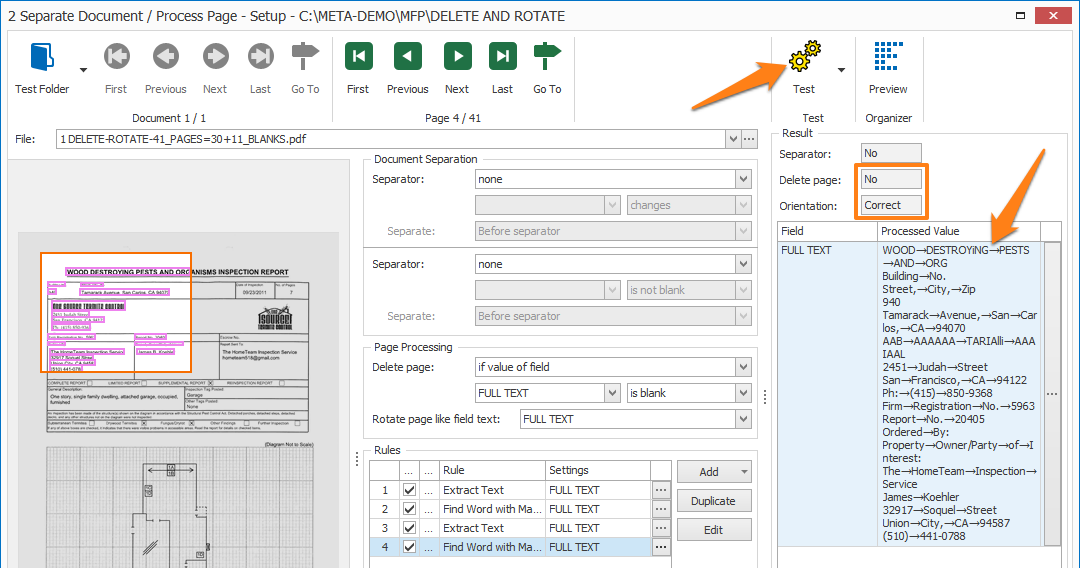
03 Auto-Rotate / Auto-Delete – Setup
TIP: The thumbnail on the right will follow you, so you can easily refer to the Setup window. Click on the thumbnail to make the image larger.
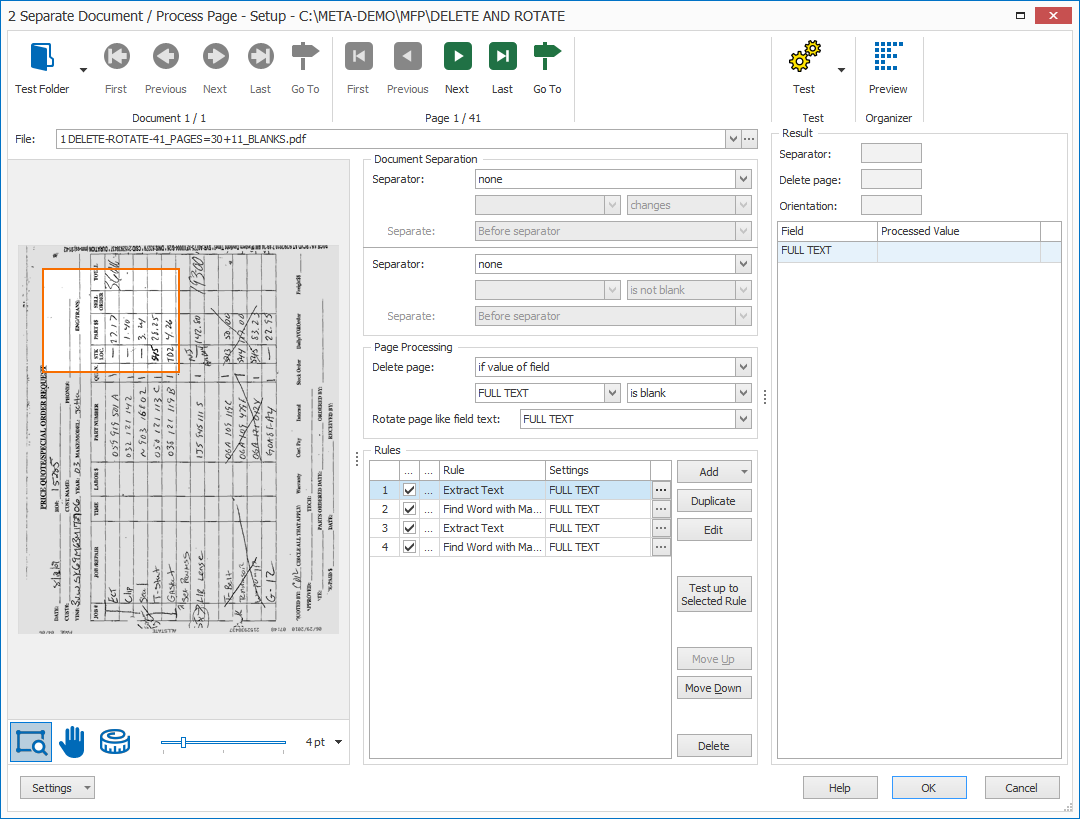
The middle panel shows your Extract rules. We’ll go through each rule one-by-one.
01 – Page Processing Settings
Below the Document Separation settings, you can set up the conditions to delete a page or rotate a page based on the orientation of the text in the specified field. The text needs to be generated through an Extract Text or Extract Barcode rule.
In our case, we use extracted text from our pages to determine the orientation and whether or not a page should be deleted.
01 – Delete page: press the drop-down arrow to choose between deleting separator pages or deleting pages if a given field is blank or not blank.
In our case, we want to delete the page if the field FULL TEXT is blank.

02 – Rotate page like field text: MetaServer can automatically rotate pages based on the orientation of the extracted text.
Press the drop-down arrow and select the field holding the text. In our case, select “FULL TEXT”.
02 – Configuring the Rules
01 – Rule 1: Extract Text
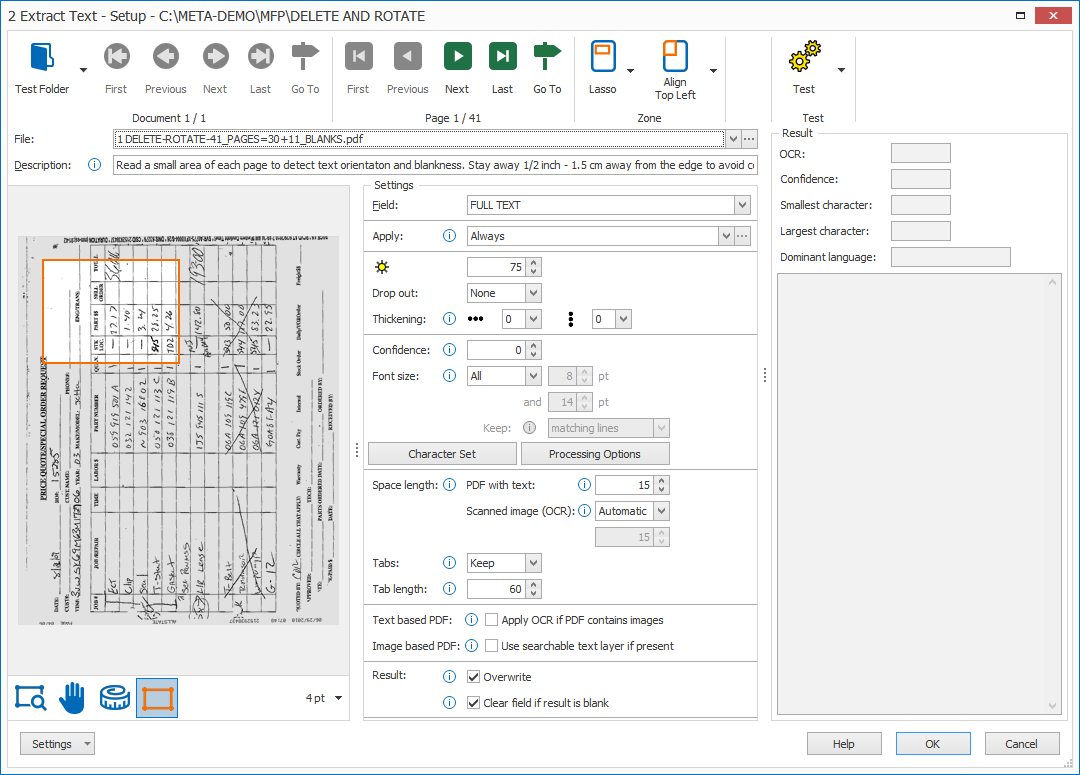
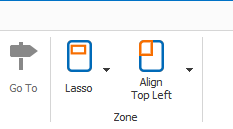
2) Zone: in the Extract Text setup window’s toolbar, you will find two Zone tools to specify your extraction zone:
Select the Lasso tool and draw a small zone in the left corner of the page.
Make sure you keep 0.5 inches / 1,5 cm clear from the edge to avoid conflict with the orientation text in the margin like fax header text or vertically printed company info. This text may be in a different orientation than the main text on the page.
Obviously the position of the small zone may be different on your documents. The zone should be placed in a place where you’ll find most often a significant amount of text.

Browse through your pages and test your rule. When you’re done, press the OK button.
02 – Rule 2: Find Word with Mask / Words
Blank pages are sometimes noisy because of bleed-through and may show a lot of speckles or lines because of a dirty scanner glass. The OCR engine may recognize individual letters or signs in this noise like slashes, periods or individual characters like i or l.
To get rid of this random text we will run the extracted text through a Find Word with Mask / Words rule and only keep words longer than or equal to two characters. If the result is blank, then that means the page only contains random text generated by noise instead of real text.
To look at its setup, select the 2nd Find Word with Mask / Words rule and double-click on it or press the “…” or press the “Edit” button to open its setup window.
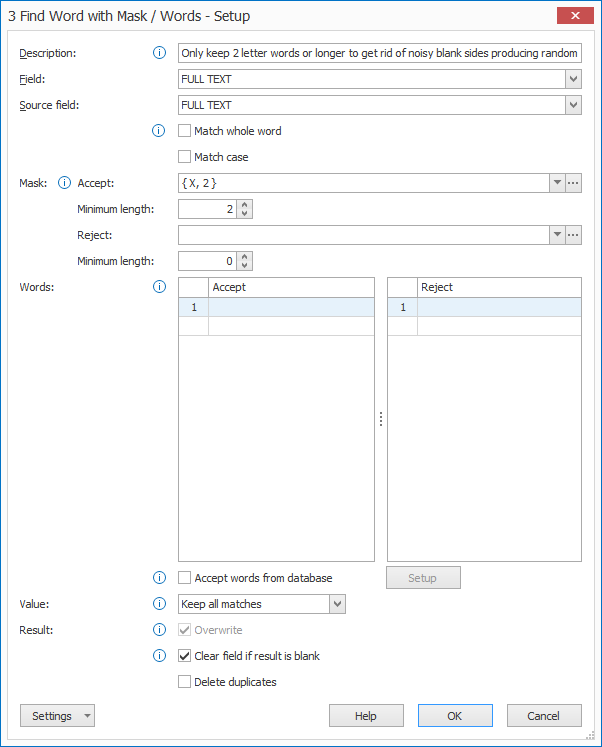
2) Match whole word: disable the “Match whole word” option. In other words we want to keep all words at least containing 2 letters or digits
Text elements like [ and ) and }i (does not contain 2 letter or digits) will be dropped. If special characters are part of a longer word like (123), they will be kept.
3) Accept Mask: compose a mask that accepts a word with 2 letters or digits. Press the drop-down arrow and select “5 letters or digits”. Change the “5” into a “2”.
Minimum length: set the minimum length to 2. This means that the word needs to be at least 2 characters long, anything shorter will be dropped from the text.
03 – Rule 3: Extract Text
If our first “small zone” Extract Text rule didn’t extract anything, we want to double-check if our page is 100% blank.
We can do this by setting up a conditional 2nd Extract Text rule.
This rule will only apply when the first 2 rules return nothing.
Select the 3rd Extract Text rule and double-click it or press the “…” or “Edit” button to open its setup window.
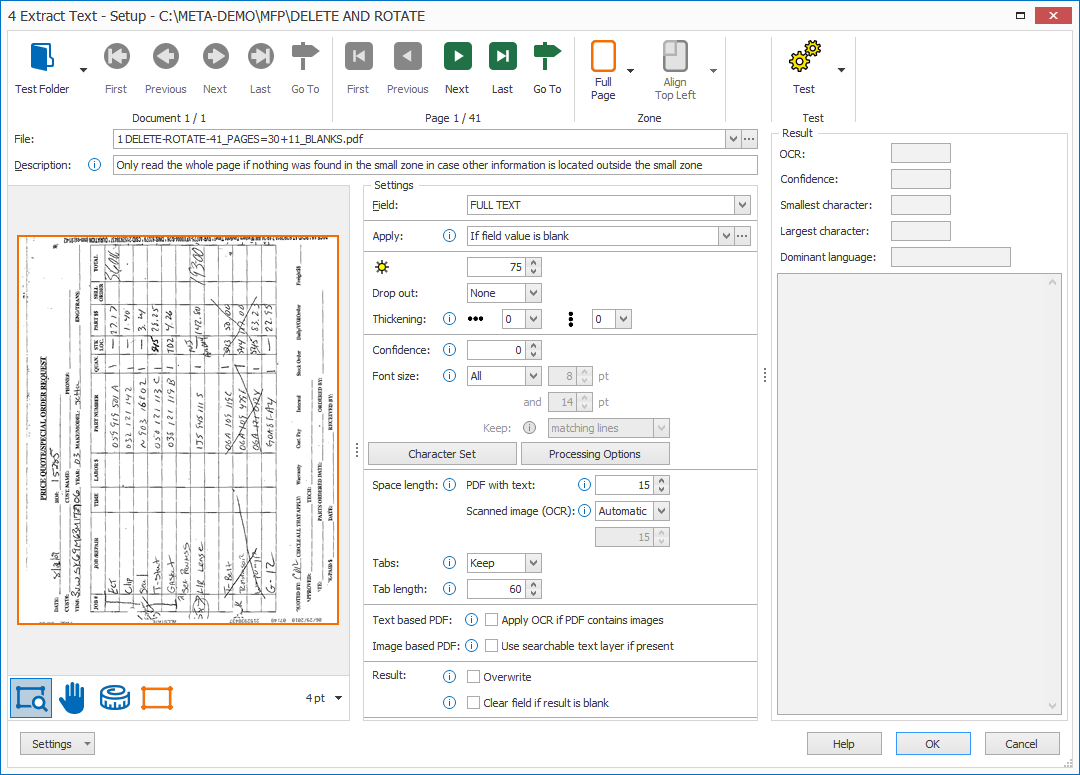
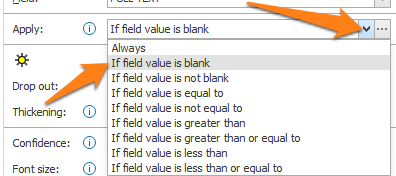
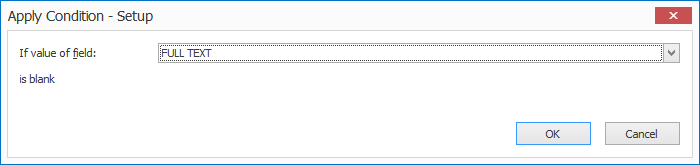
2) Apply: here you will choose when to apply the rule. Press the drop-down arrow and select “If field value is blank”. This makes the extraction of the full page conditional and it will only run when the small zone extract rule didn’t extract any text.
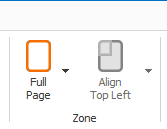
3) Zone: we want to extract the text from the full page. To do this, make sure the Zone is set to “Full Page”.
Browse through your pages and test your rule. When you’re done, press the OK button.
04 – Rule 4: Find Word with Mask / Words
Similar to what we we did with the small zone extract rule, if the result of our full page Extract Text rule only contains individual characters or symbols, then this means the OCR engine picked up random text from a noisy blank page and it needs to be deleted.
To get rid of this random text we will run the extracted text through a Find Word with Mask / Words rule and only keep words longer than or equal to two characters. If the result is blank, then that means the page only contains random text generated by noise instead of real text.
NOTE: the setup for the last Find Word with Mask / Words rule is the exact same as the previous Find Word with Mask / Words rule.
Instead of setting it up from scratch, you (1) select the first Find Word with Mask / Words rule, (2) Duplicate it and (3) move the duplicated rule down until it’s after the last Extract Text rule.

04 Auto-rotate – Testing
Press the Test button to show the extracted text result in the Processed Value column and to check if the current page is:
– Going to be deleted, yes or no
– Going to be rotated. When enabled, the detected orientation of the page is displayed as 90° right, 90° left, 180° or Correct.

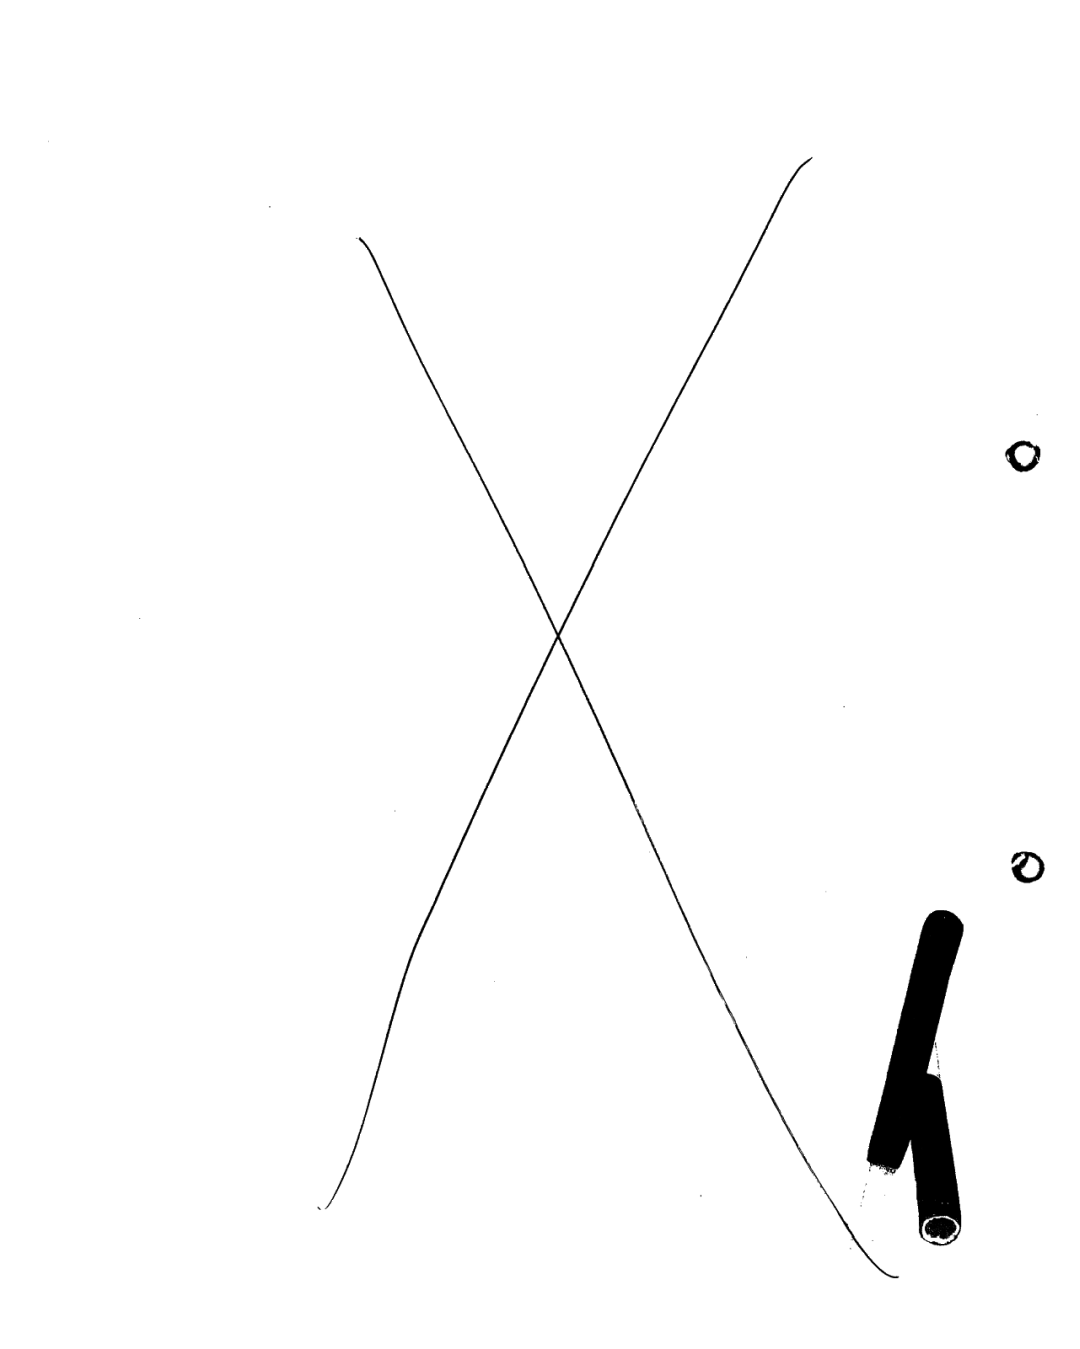
This page has noise, a big cross and punch holes. The punch holes were recognized as “O” characters, but the Find Word filter removed them. No words were found in the text, so it is blank. This page will be deleted.

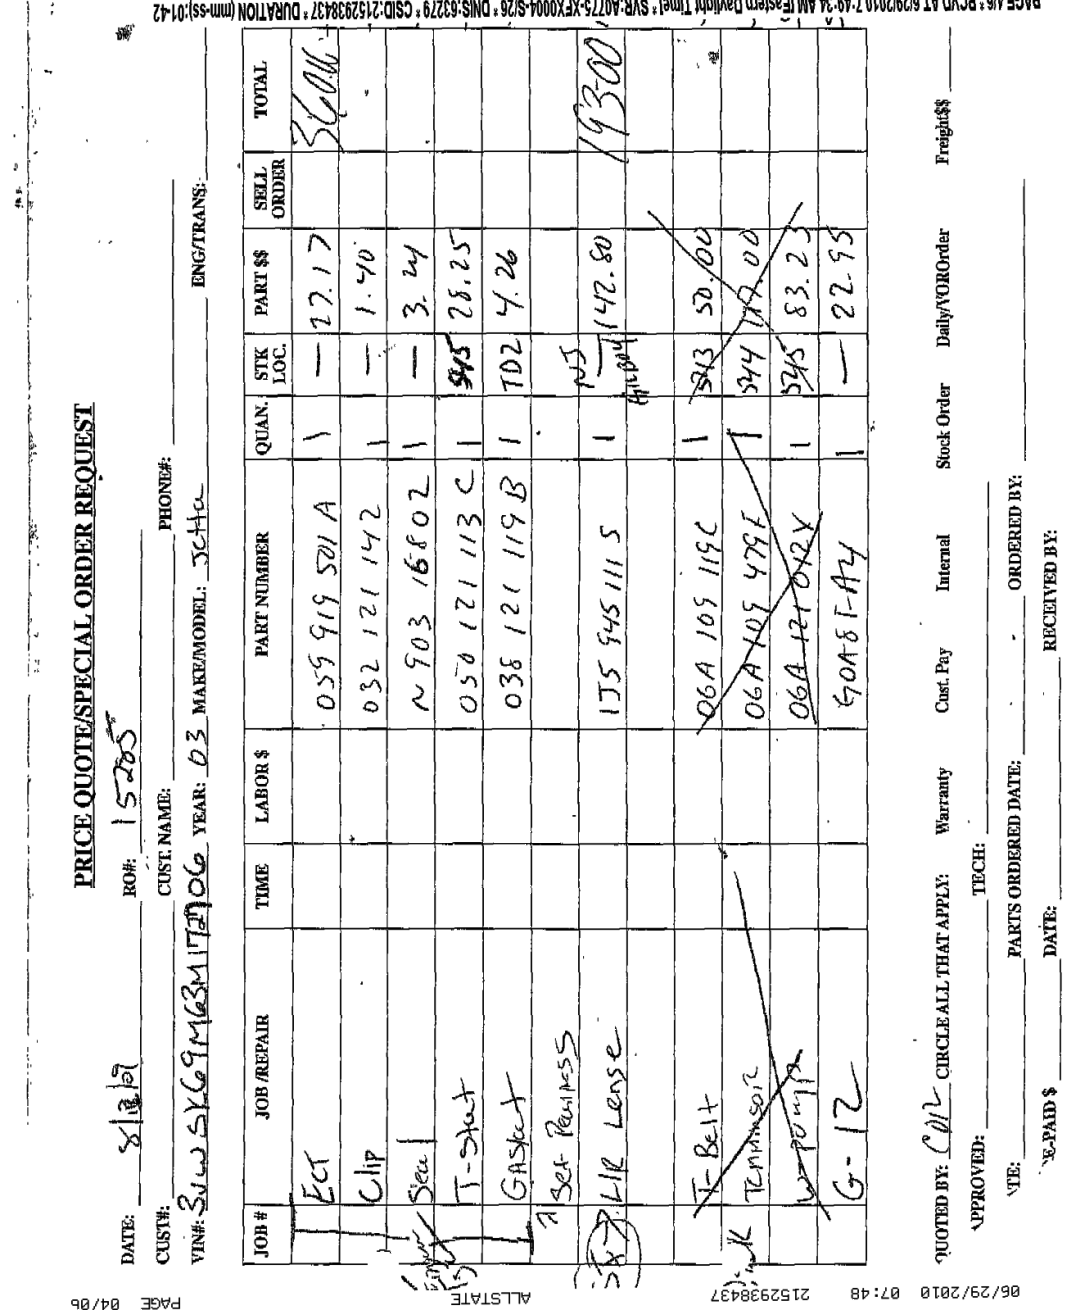
Because no text was detected in the small zone, our full page Extract Text action was triggered and detected some text after all. Our Find Word filter found words on the page, so it won’t be deleted. The page will also be rotated 90° to the left
01 – Preview
To apply your rules to every page of your currently selected test document, press the Preview button.

When it’s finished, a Thumbnail Preview window opens, showing you a visual representation of where the document was deleted and / or rotated.
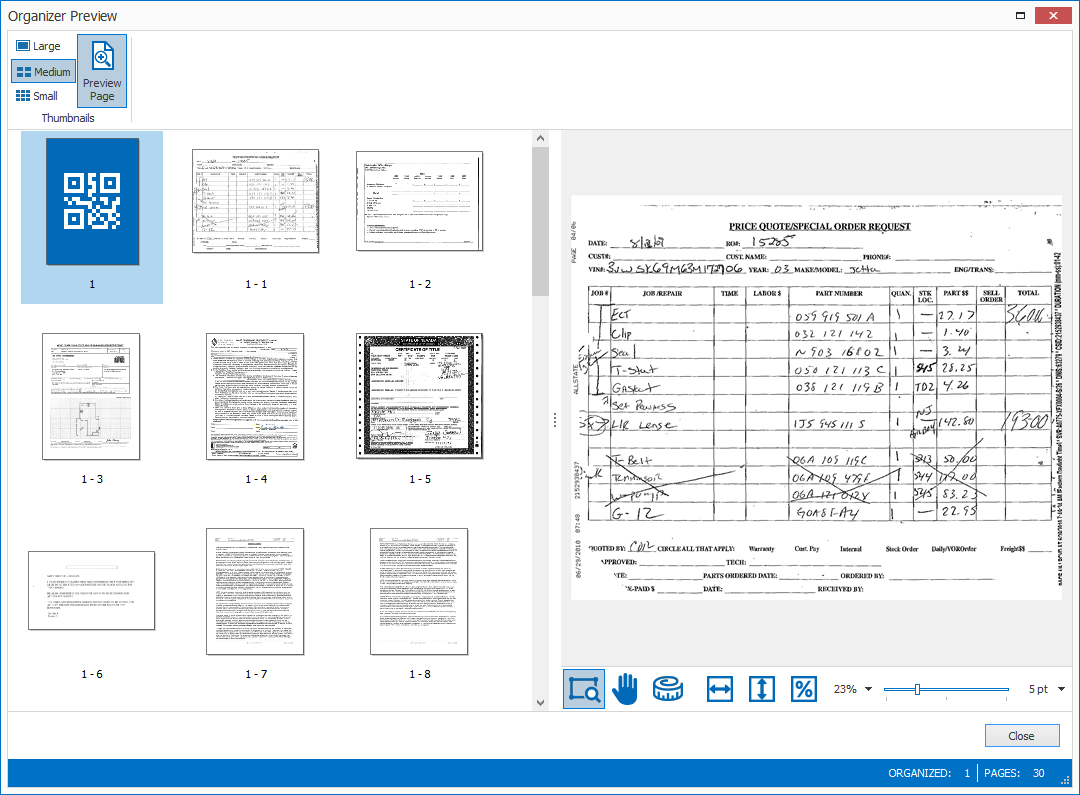
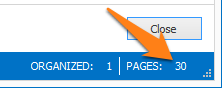
The 18 incorrectly oriented pages are all correctly rotated and the total number of 41 pages has decreased to 30 pages because we deleted the 11 blank pages from our original set.
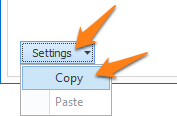
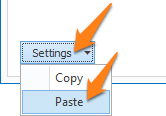
TIP: you can copy the current settings and paste them in another setup window of the same type. Do this by pressing the Settings button in the bottom left of the Setup window and by selecting Copy. Then open another setup window of the same type and select Paste.