010-020 MetaServer Solutions – Mailroom
Process incoming mail, classify and extract data
Content
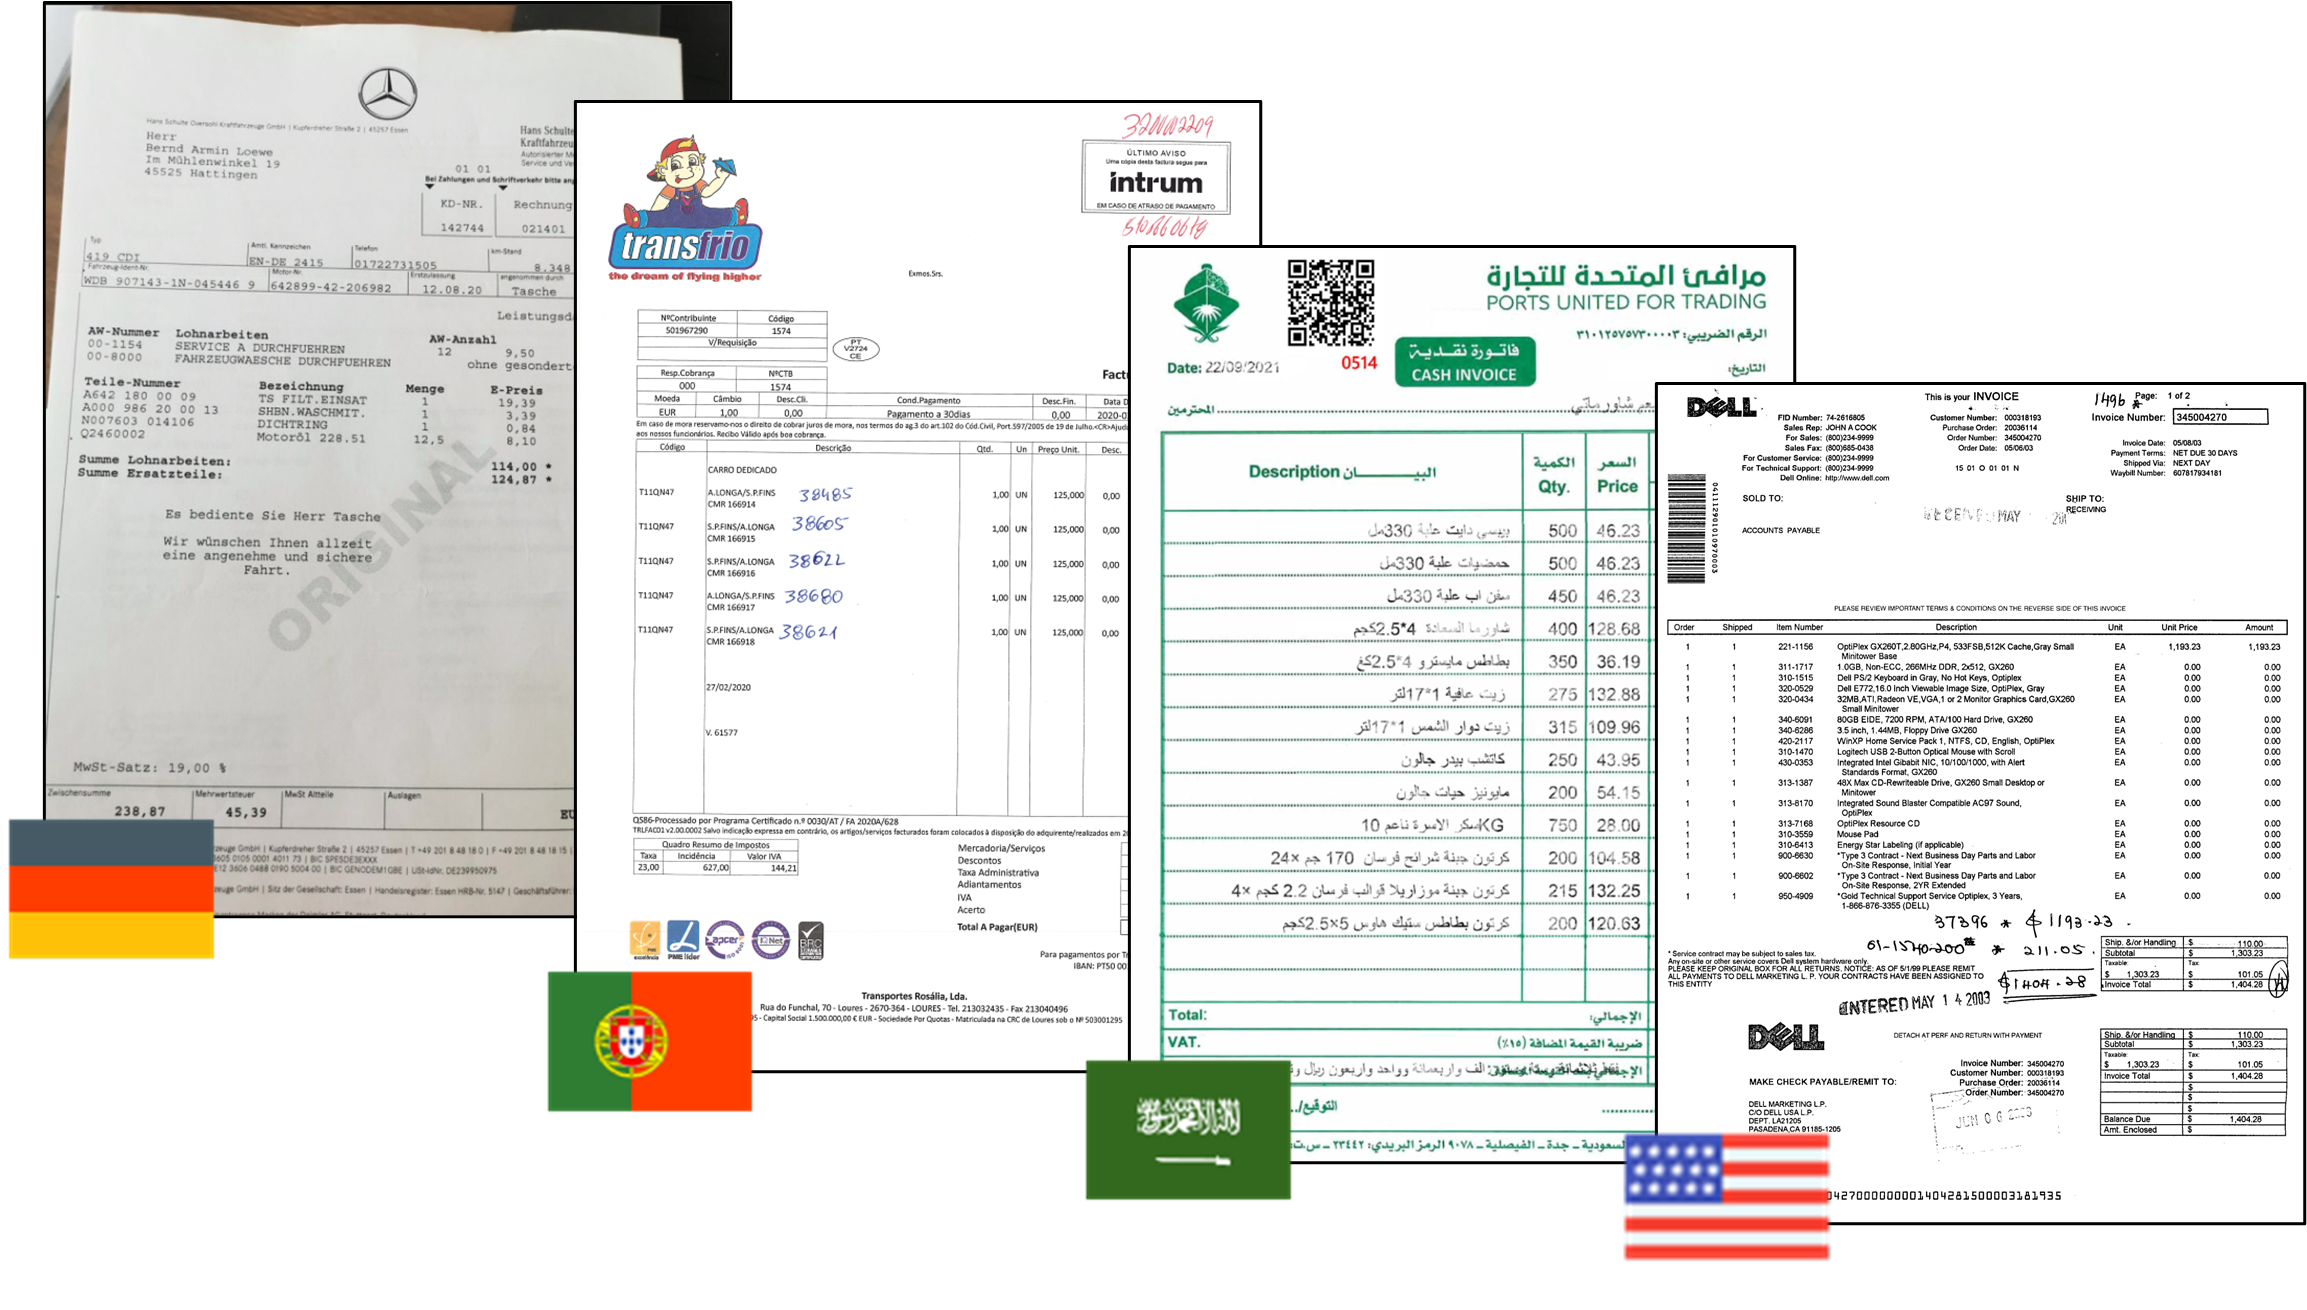
The “Mailroom” solution, powered by MetaServer, can automatically separate batches of incoming mail, classify, extract and look up printed or handwritten data. It is able to read data from mail from any country in any language, including low quality images captured with a smartphone.
You will then have the option to review the extracted data in a Validation step.
Finally, the resulting data will be exported to a business system of choice, which can be multiple destinations, like a DMS or ERP system, folder structure, database or email.
The MetaServer service is triggered when it receives mail, which can be an email with mail attachments, scanned mail using an MFP (multi-functional printers / digital copiers), document scanner or smartphone.
| MetaServer imports scanned or electronic incoming mail |  |
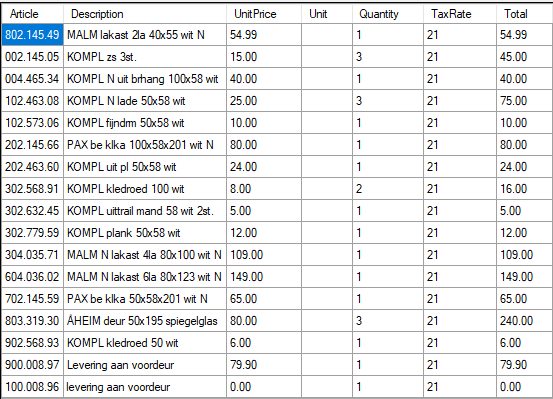
Batches of mail are separated. Printed or handwritten data and line items are extracted. |
 |
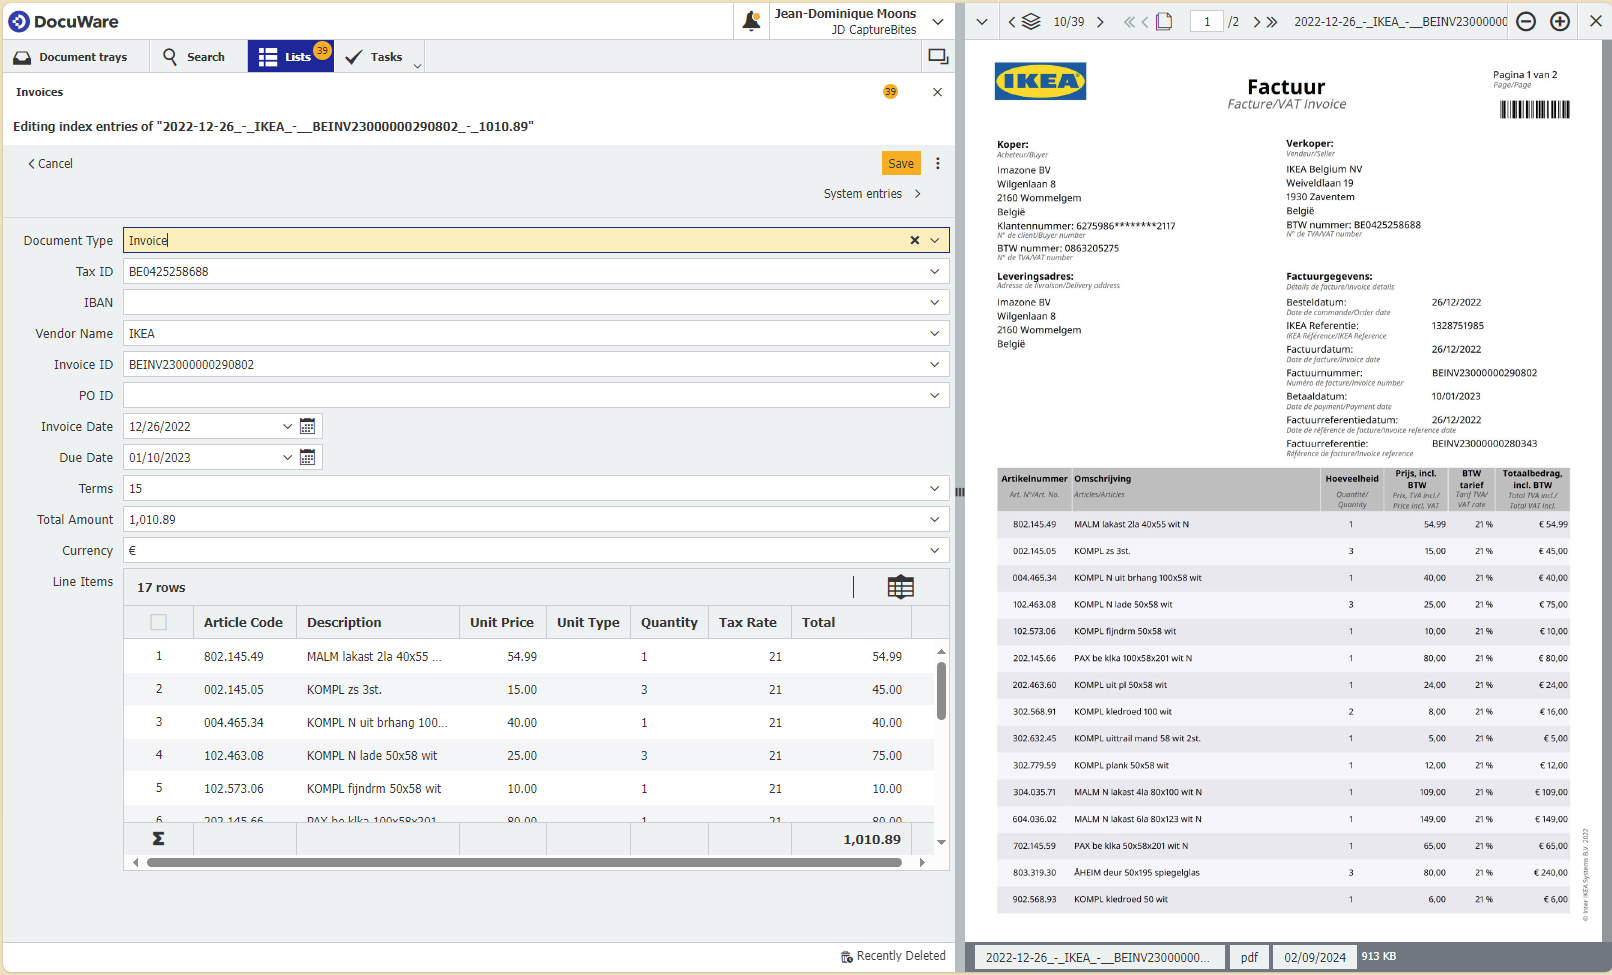
Optionally, use the Operator Client to validate the extracted data |  |
The resulting data is exported to a database, email, folder structure, DMS or ERP system of choice |
|---|
PDF Brochure (EN / FR)
Télécharger Brochure PDF – FR
Since the workflow for the “Mailroom” solution uses default values for the import and export paths and the vendor database, please make sure to go over the following questionnaire so you can tailor the solution to your customer’s needs.
Import:
1. What folder will your scanner or MFP scan incoming mail to?
As a reference, the default samples and watched folder for the mailroom solution’s workflow are:
| Samples folder: | C:\META-DEMO\MFP\MAILROOM |
| Watched folder: | C:\META-IN\MFP\MAILROOM |
2. If you import incoming mail from email, please provide the following details:
-
- Email account type? Office 365, Gmail or IMAP?
- Recipient email address and password?
- If IMAP, IMAP server and port
3. Will incoming mail be scanned as a batch or as individual mail?
If they are scanned as a batch, we recommend using QR Code separator labels on the first page of each mail. You can refer to the following guide on how to create and apply this separation method.
Output:
4. What data would you like to extract (e.g. mail subject, reference, sender, etc.)?
5. Do you want to output the data in a specific XML or CSV format?
-
- If yes, please provide us a working CSV or XML sample with the corresponding mail.
As a reference, the default output folder for the vendor invoice solution’s workflow is:
| Output folder: | C:\META-OUT\MFP\MAILROOM |
7. To export to DocuWare, you’ll need a DocuWare subscription and map the MetaServer fields with the index fields and line item table of your Mailroom cabinet.
Database:
9. Do you have an existing database that includes your senders’ information?
- If yes, what type of database? SQL Server DB, CSV, etc.? Is this database regularly updated?
- If no, do you wish to create and update a vendor database?
As a reference, the mailroom solution workflow stores their databases here:
| Database files included: | vendors-fournisseurs-verkäufer.csv currency-symbols.csv |
| Database files folder: |
C:\ProgramData\CaptureBites\Programs\MetaServer\Data\DB |
You can download the latest version of the MetaServer Service and Clients and the solution from the installers listed below. These installers can also be found on our downloads page.
The workflow for the Mailroom solution is called “CB – MAILROOM”.
Installers without sample workflows or images
Solution Installer
Version 3.1.31.68
Installers without sample workflows or images
Version 3.1.31.68
Solution Installer
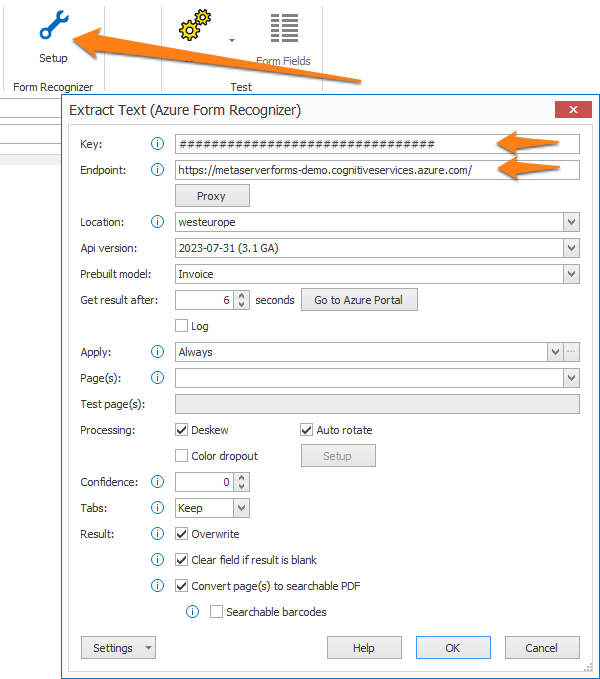
For more detailed instructions how to apply for an Azure AI Vision key, please refer to the Extract Text (Azure AI Vision) online help page.
IMPORTANT: Enter your Azure AI Vision resource key, end point and location in:
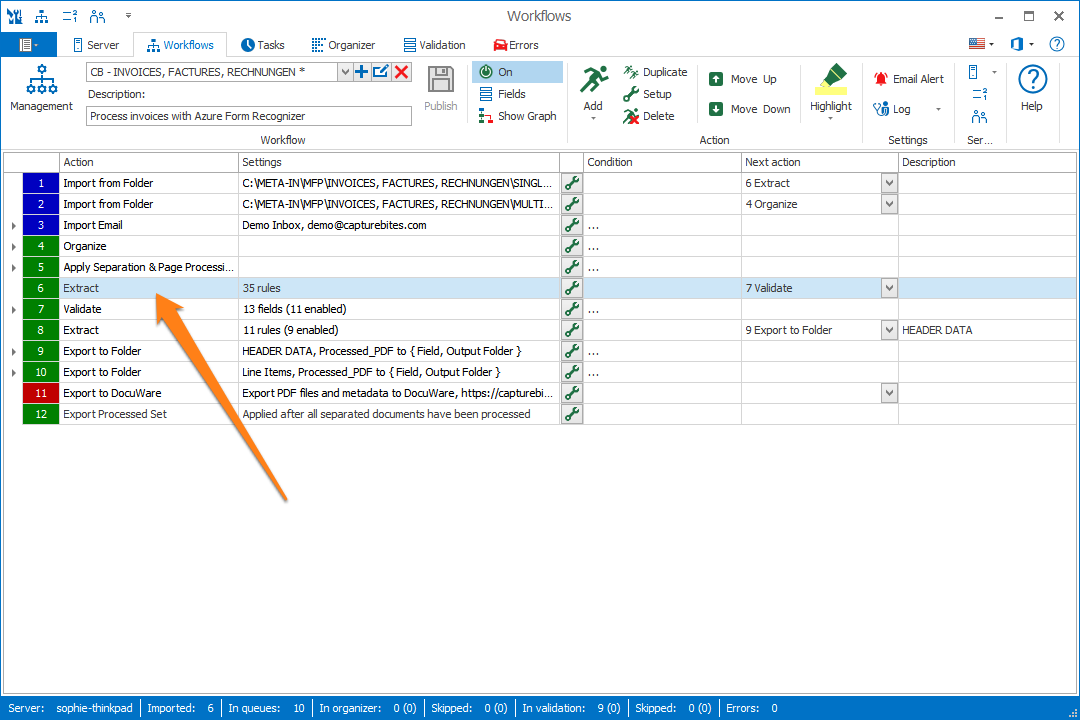
Action 6 -> Rule 1, the Extract (Azure AI Vision) rule’s setup window.
Per month:
- 1 PDF per invoice
- 1 CSV containing all line items and header data for all invoices

