MetaServer > Help > Extract > Find Selected Text
120-320 MetaServer Extract – Find Selected Text
With the Find Selected Text rule, you can extract text from a field based on its coordinates and / or font size and confidence level. This can save a lot of time (and number of calls in the case of the Extract Text (Azure Computer Vision) or Extract Text (Azure Form Recognizer) rule).
With The Find Selected Text rule you can select a zone on an image and only keep the selected word groups generated with a previous Extract Text, Extract Text (Azure Computer Vision), Extract Text (Azure Form Recognizer), Extract Barcode or Mark Detection rule.
This is especially useful with the page count based Extract Text (Azure Computer Vision) and Extract Text (Azure Form Recognizer) rule. You read the full page once (only one page read is counted). Next, you can extract zones from the full text result with the Find Selected Text rule without having to rerun the OCR on the zone.
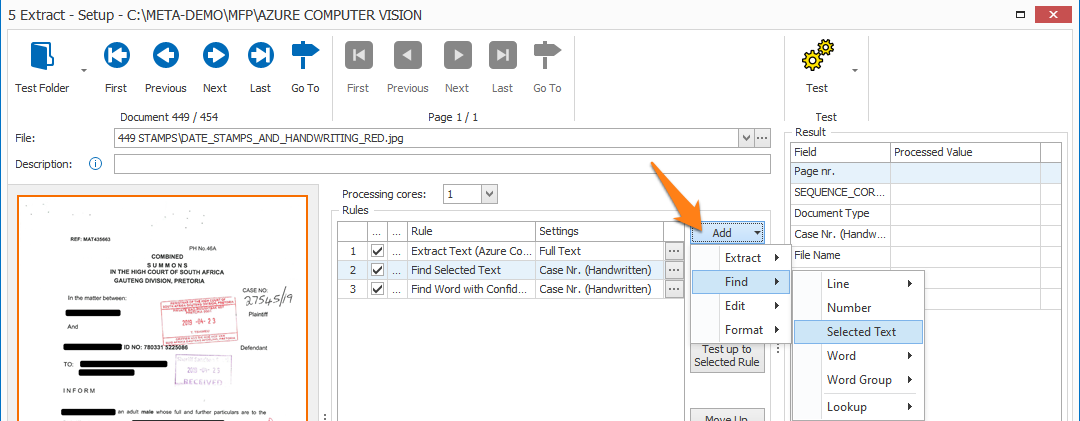
Find Selected Text rules are defined in a MetaServer Extract or Separate Document / Process Page action.
To add this rule, press the Add button and select Find –> Selected Text.
TIP: The thumbnail on the right will follow you, so you can easily refer to the Setup window. Click on the thumbnail to make the image larger.
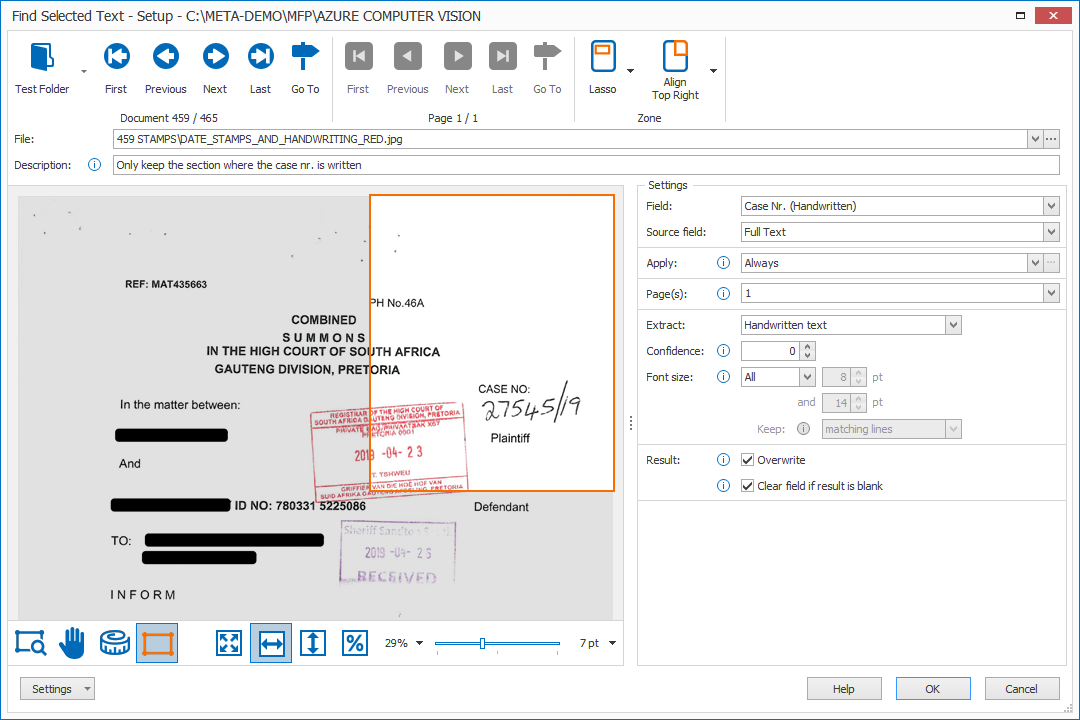
First, add a description to your rule. Then, select the field that will hold the result.
01 – Source field: press the drop-down arrow to select the source field. This is the field containing the text you want to filter.
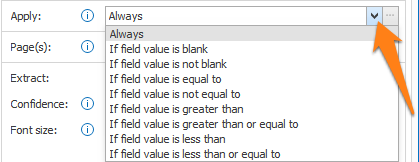
02 – Apply: choose when to apply the rule. The default option is Always, which means that the rule is always applied. Press the drop-down arrow to see all other available conditions.
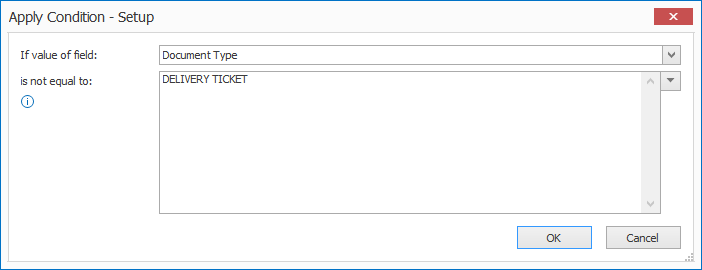
Press the “…” next to the drop-down arrow to open the setup window of the selected condition.
1) If value of field: press the drop-down arrow to select the field value that needs to be evaluated.
2) is equal to / is not equal to / is greater than /…: enter the other value your field value needs to be compared with. You can also press the drop-down button to select different system and index values to compose your value.
03 – Page: set the page number to where your text is located. The default is page 1.
For example:
– Enter 1 for the 1st page
– Enter -1 for the last page
– Enter -2 for the page before the last page
– Etc.
You can also press the drop-down arrow to use a field value containing a page number value to switch the page number(s) dynamically.
Example use-case: A form contains 10 pages. You are interested in extracting the information on the page about the “Bank Details” with a big heading “SECTION 5: BANK DETAILS”. The form’s pages are not always in the correct sequence, meaning that the bank details can be on any of the 10 pages. You first use a Find Word with Mask / Words rule to find the words “SECTION 5: BANK DETAILS” and put the found words in a field called, for example, “KEYWORD”. If the keyword is found on page 7, then the variable { Page Number, KEYWORD } would return the value “7”.
You can then use the field “KEYWORD” as your Page in your Find Selected Text rule.
04 – Extract: press the drop-down arrow to choose whether you want to keep handwritten and/or printed text from your specified zone.

05 – Confidence: characters with a confidence level lower than the set confidence level, will be ignored and not returned in the result. If set to 0, all characters are accepted.
This can be useful to make sure that critical data is extracted correctly, otherwise it will show up in Validation when the confidence is low.
For example, if you need to extract a highly crucial account number of 8 digits, set the confidence level to 95. Any characters lower than 95 will be rejected, resulting in an account number with less than 8 digits.
If you set a Validate Text rule that only accepts account numbers with 8 digits, any account number missing the lower confident digits will fail the 8-digit validation mask and will need to be manually corrected during Validation.
06 – Font size: here you can choose to set up a range of acceptable font sizes to only return lines or words containing at least one character within the specified range. You can even choose to only keep the matching characters
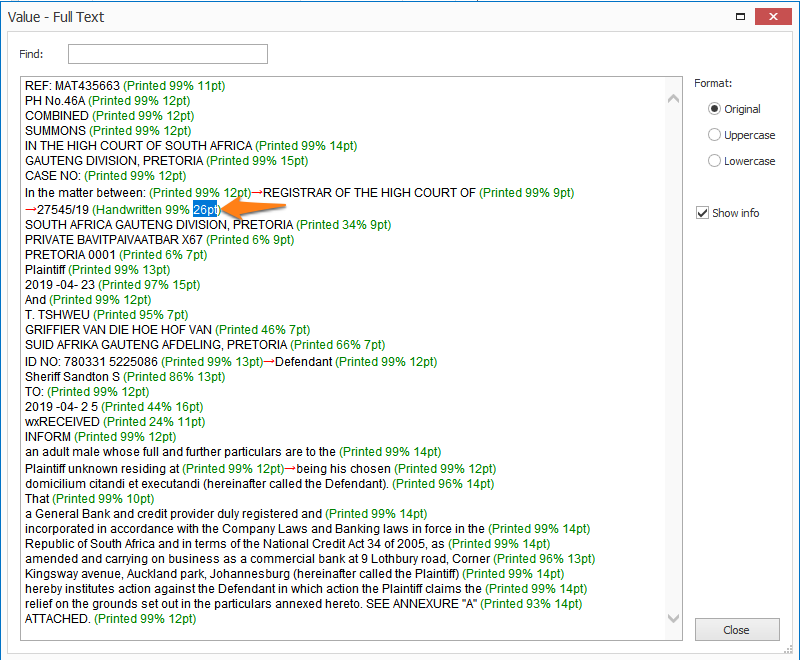
To help you in defining the correct font sizes, you can check the font size of each word group in your Extract test result using the “Show info” option.
You can also see the font size of the smallest and largest character displayed above the test result in the Extract Text and Extract Text (Azure Computer Vision) setup.
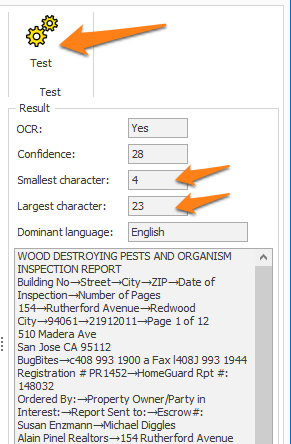
07 – Overwrite: if enabled, the result will overwrite the previous field value. Otherwise, the result will be added to the value that is already in the field.
08 – Clear field if result is blank: if the result is blank, any values already in the index field are cleared.
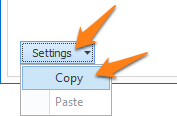
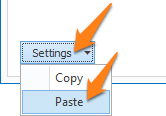
TIP: you can copy the current settings and paste them in another setup window of the same type. Do this by pressing the Settings button in the bottom left of the Setup window and by selecting Copy. Then open another setup window of the same type and select Paste.

After:
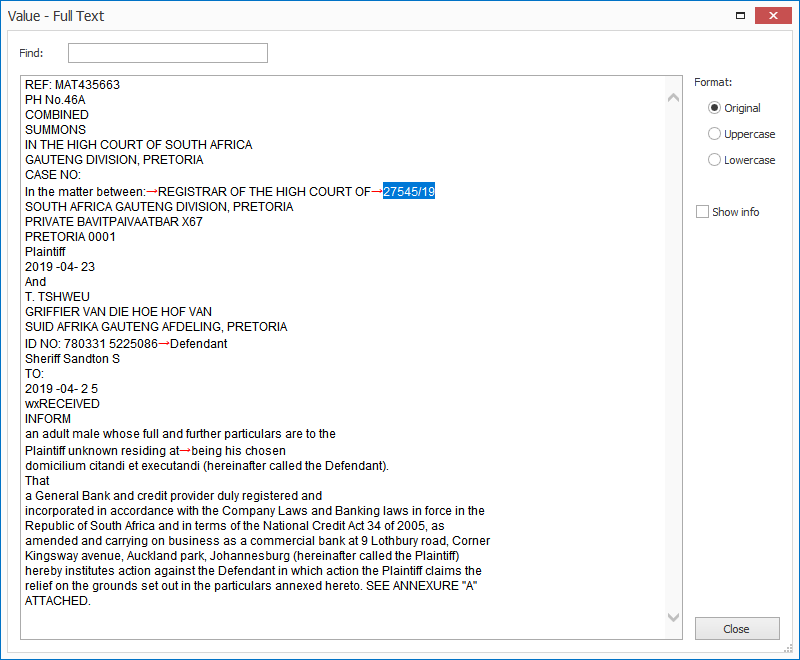
- Extracting text using an Extract Text or Extract Text (Azure Computer Vision) rule.
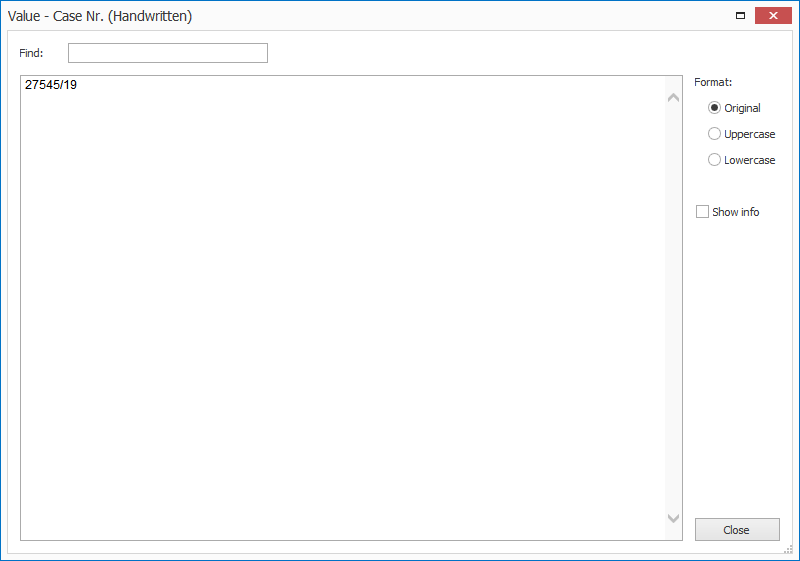
- Using a Find Selected Text rule to only keep the handwritten text containing the Case Nr. in the right corner of the 1st page of the document.
- Using a Find Word with Mask / Words rule to only return a valid Case Nr.
we get the following result:

