MetaServer > Help > Organize > Clipping Tool
080-010 MetaServer Organize – Clipping Tool
With the Organizer's Clipping Tool, you can clip one or more parts of a page.
For example:
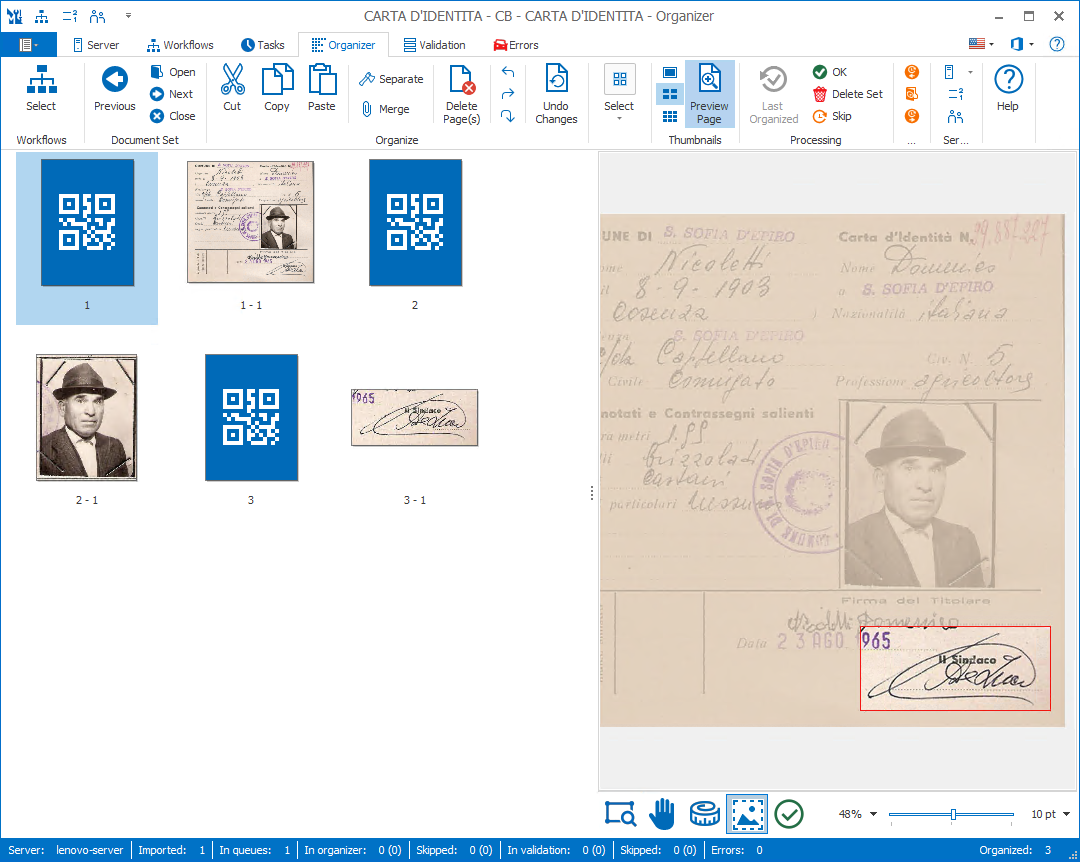
Below identity card contains a person’s picture and signature. When the Clipping Tool is enabled in your Organize action's setup, you can draw a rectangle around the picture and double-click (or press the "Confirm" button or F11 key) inside the clip to append the clip at the end of the document.
Other Organizer tools, like Move, Rotate, Delete, Cut / Copy / Paste, Separate and Merge can be applied to the clips as well. The only limitation is that you cannot clip inside a clip.
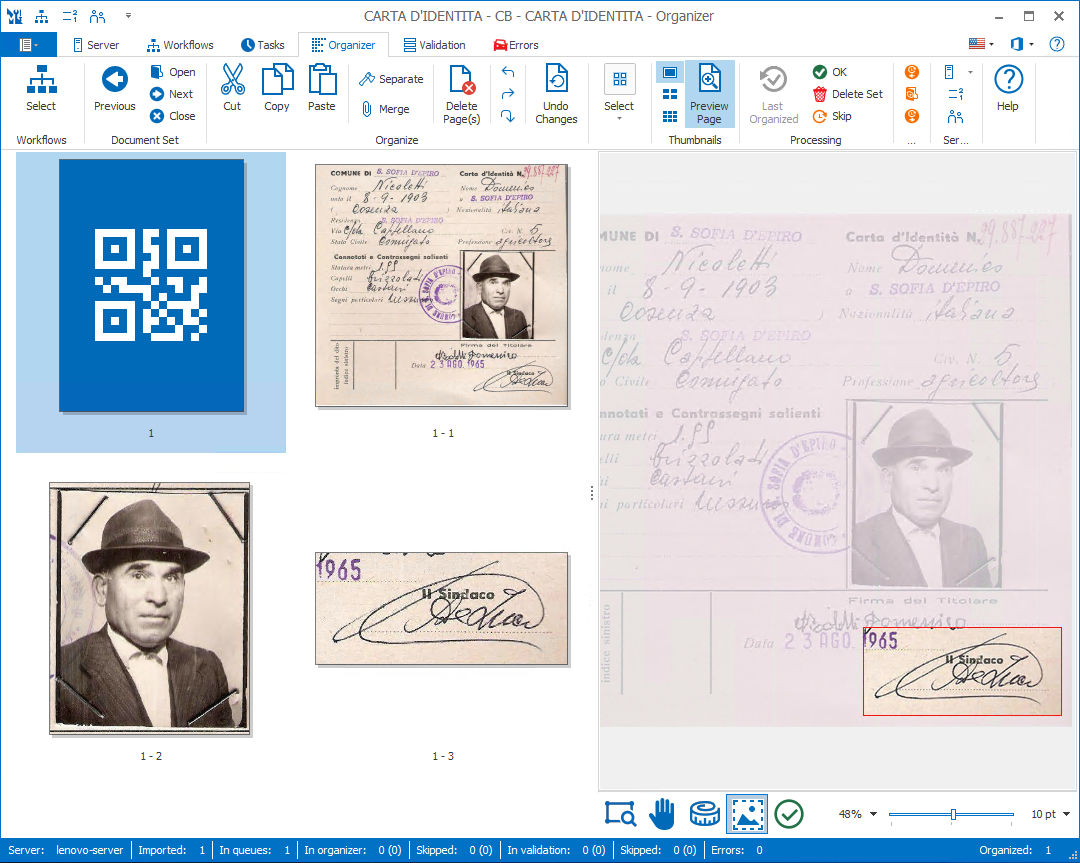
ID with a clipped signature

Clip
Click the "Clip" button to draw a rectangle around the image you want to clip.
Then, double-click or press F11 or the "Confirm" button to clip the image and append it to your document.

Confirm
After you've drawn your rectangle around your image using the "Clip" button, press this button, F11 or double-click within the clipped image to append it to your document.
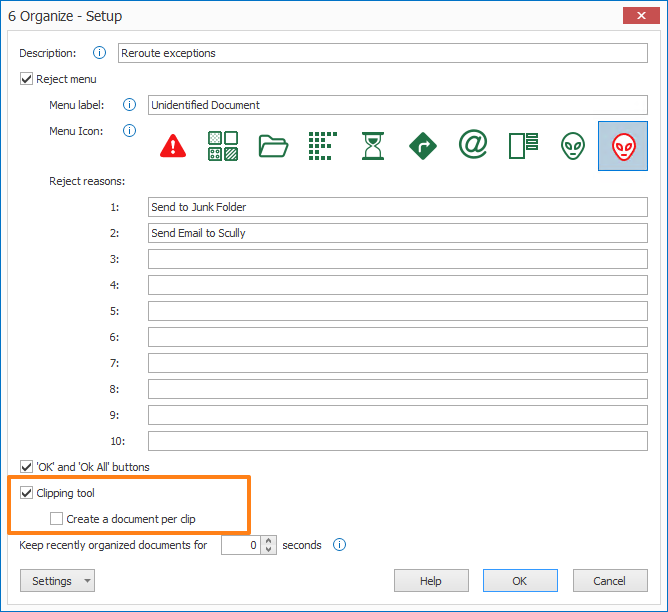
01 - Clipping Tool: enable this option to make the Clipping Tool available in the Organizer. By default, when you add an Organize action to your workflow, the Clipping Tool is disabled.
02 - Create a document per clip: When enabled, instead of appending the clip as an additional page to its original document, it will add the clip as an additional document after its original document.
This is ideal if you want to send each part (main document and each clip) to specific actions and exporters using a Distribute action setting unique actions per document number.
For example:
Document 1 (the main document): needs to be saved as a PDF in the Identity Card library
Document 2 (the picture): needs to be converted to JPG and exported to a picture library in SharePoint together with the name and birthday of the person.
Document 3 (the signature): needs to be converted to JPG and exported to a signature database used for visual signature verification.
TIP: you can copy the current settings and paste them in another setup window of the same type. Do this by first selecting the rules you'd like to copy. If you want to copy all rules, use Ctrl+A.
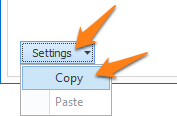
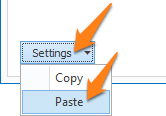
When your rules are selected, press the Settings button in the bottom left corner of the Setup window and select Copy. Then open another setup window of the same type, select the rule after which you'd like your copied rules to be appended and select Paste.
In the case that you're copying rules to another workflow's action, if there are any missing fields in your target workflow, the missing fields will be automatically created. Before any changes are applied, a pop-up will show those changes.